

What Plumbing Maintenance Is Genuinely DIY-Friendly
Plumbing has a reputation for being firmly in tradesperson territory - and for good reason when it comes to mains connections, gas lines, or anything behind a finished wall. But a significant portion of plumbing upkeep sits well within the capability of an attentive homeowner with basic tools and a willingness to look closely at what's already there.
The goal isn't to replace professional expertise. It's to handle the straightforward stuff competently, catch early warning signs before they escalate, and know clearly where your involvement should stop. The six tasks below are genuinely reasonable for most homeowners to manage - no specialist training required, just care and the right approach.
Build a Basic Plumbing Kit
A few inexpensive tools cover most DIY plumbing maintenance: an adjustable wrench, slip-joint pliers, a plastic drain snake, a toilet flapper kit, and a roll of plumber's tape (PTFE tape). Keep them in one dedicated location so they're ready when you need them. Having the right tool on hand is often the difference between a 20-minute fix and a worsening problem.
Six Plumbing Maintenance Tasks to Handle Yourself
Clear slow drains before they become fully blocked
A sluggish drain is rarely a plumbing emergency - but ignoring it invites one. In bathroom sinks and tubs, the culprit is almost always accumulated hair and soap residue. A simple drain snake or a plastic drain-cleaning tool (widely available at hardware stores) can pull the clog free without chemicals.
Avoid reaching for caustic chemical drain cleaners as a first response. Repeated use can soften PVC pipes and corrode older metal fittings. Instead, try pouring a kettle of near-boiling water down the drain first - this alone often dislodges soft soap buildup. For stubborn blockages, a mixture of baking soda followed by white vinegar creates a fizzing action that loosens debris without damaging pipes.
Kitchen drains clog differently - cooking grease and food particles are the main offenders. Run hot water for 30 seconds after every use, and avoid letting fats solidify in the pipe. A mesh strainer over the kitchen drain opening is one of the simplest preventive tools available.
A plastic drain snake removes most bathroom clogs in minutes - no chemicals needed.
Locate and test your isolation valves
Every sink, toilet, and appliance connected to your water supply should have its own isolation valve - a small inline valve on the supply pipe that lets you cut water to that fixture without shutting off the whole house. Many homeowners never test these until they need them urgently, only to find the valve is seized from years of disuse.
Turn each isolation valve off and back on once or twice a year. This keeps the internal mechanism lubricated and prevents it from corroding in place. If a valve leaks slightly when you turn it, or won't move at all, note it for a plumber's visit - forcing a stuck valve can snap it.
Also locate your main shutoff valve, usually near where the supply line enters the home or in a utility room. Make sure every adult in your household knows where it is and how to operate it. In a burst pipe situation, every second counts.
Test isolation valves annually - a seized valve is useless in an emergency.
Fix a running or constantly cycling toilet
A toilet that runs after flushing - or one that cycles on and off without being used - is silently wasting water and raising your utility bill. The most common cause is a worn flapper valve: the rubber seal at the bottom of the tank that closes after each flush. Over time, it warps and no longer seats properly, allowing water to trickle continuously into the bowl.
Flapper valves are inexpensive and straightforward to replace. Shut the water off at the toilet's isolation valve, flush to empty the tank, unhook the old flapper from its pegs and chain, and fit the new one in reverse order. Most replacements take under 20 minutes.
If the problem persists after replacing the flapper, the fill valve - the mechanism that refills the tank - may need adjustment or replacement. Fill valves are also DIY-accessible, though they involve a few more steps. If you're uncertain, this is a reasonable point to consult a plumber rather than risk an overflow.
A worn flapper valve is the most common toilet leak - and costs just a few dollars to fix.
Inspect under-sink cabinets for early leak signs
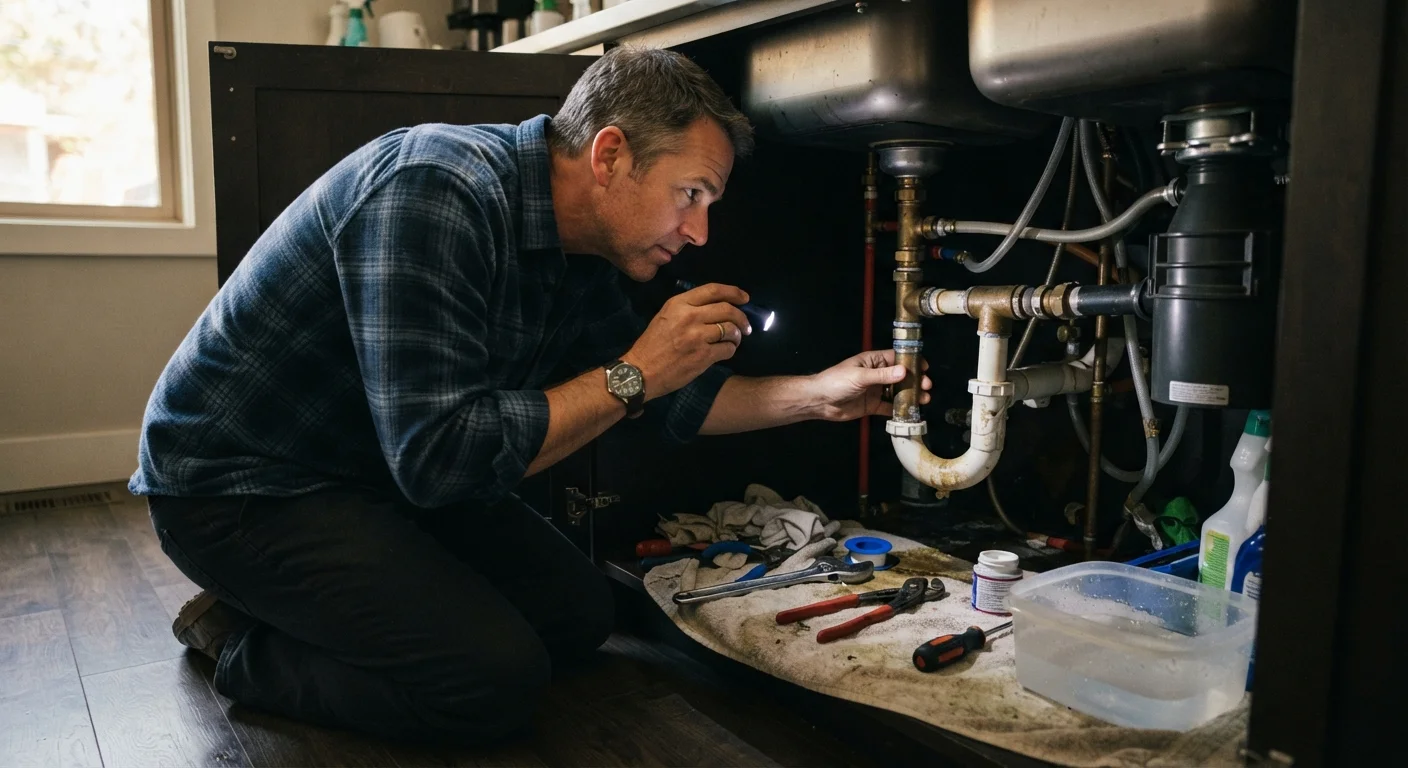
The space under a sink is easy to ignore until there's visible water damage. Aim to open cabinet doors and visually inspect pipes, supply lines, and drain connections every few months. Look for moisture rings on the cabinet floor, white mineral deposits on pipe fittings (a sign of a slow drip), or soft spots in the wood base.
Supply lines - the braided hoses connecting the shutoff valve to the faucet - are a common failure point. They degrade with age and, when they fail, can release a significant amount of water quickly. If a supply line feels rigid, cracked, or shows rust at the fittings, replacing it is straightforward and relatively inexpensive. Replacement is a task most handy homeowners can manage with an adjustable wrench and a new braided stainless-steel hose.
This kind of routine visual check takes minutes and is one of the most effective ways to avoid the water damage costs described in deferred maintenance.
Mineral deposits around fittings are an early warning sign of a slow, hidden drip.
Check outdoor hose bibs before and after winter
Outdoor faucets - called hose bibs or sillcocks - are among the most freeze-vulnerable plumbing fixtures in a home. Before the first hard freeze each autumn, disconnect garden hoses and shut off the indoor isolation valve that feeds each hose bib. Leave the exterior tap open briefly to drain any remaining water from the pipe section exposed to outdoor temperatures.
In spring, inspect each hose bib before resuming use. Turn it on slowly and look for water seeping from the packing nut (the collar behind the handle) or from the pipe connection inside the wall. A dripping packing nut can often be fixed by tightening the nut a quarter-turn with pliers. If the body of the faucet is cracked - a sign of freeze damage - the fixture needs replacing, which typically requires cutting into a small section of interior wall. That job is best handled by a licensed plumber. Pairing this check with your broader seasonal maintenance schedule keeps nothing overlooked.
Disconnecting hoses before a freeze is the simplest way to prevent a burst outdoor pipe.
Monitor your water meter for invisible leaks
Some leaks occur where you can't easily see them - behind walls, under floors, or in a supply line running through a crawl space. A simple water meter check can reveal whether water is leaving your system even when all taps are off.
Find your water meter (usually near the street or in a utility area), and note the reading. Don't use any water for two hours, then check the meter again. If the reading has changed, water is escaping somewhere. This doesn't tell you where - but it confirms a leak exists and prompts further investigation before you have a large repair on your hands.
If you're new to this kind of proactive approach, building a maintenance routine from year one can help you develop consistent habits that keep small problems from compounding. For anything involving the supply line between the meter and your home, or interior pipes behind finished walls, always involve a licensed plumber.
A two-hour meter test can reveal hidden leaks before water damage becomes visible.
Know When to Stop and Call a Pro
The tasks in this article cover inspection, minor fixture repairs, and basic drain clearing. Any work involving your home's main supply line, drain-waste-vent stack, water heater connections, or pipes behind finished walls falls outside safe DIY territory. In many jurisdictions, certain plumbing work also requires a permit and licensed installation. Always verify local requirements before attempting repairs beyond routine maintenance. See our companion guide on safe homeowner limits in plumbing for a clear breakdown.
Keeping Up the Habit
None of the tasks above require a full weekend or a large budget - most take under an hour and cost little beyond a replacement part. The real return on investment is in regularity. A toilet flapper noticed and fixed early costs a few dollars; the same flaw ignored for a year costs meaningfully more in wasted water. Similarly, a slow drain cleared promptly stays a slow drain; left alone, it becomes a blockage that stresses pipe joints.
Understanding common home maintenance myths - like the idea that you shouldn't touch something if it seems to be working fine - can help shift your mindset toward proactive checks rather than reactive repairs. Plumbing, in particular, rewards the homeowner who looks before there's a visible problem.
The content on this site is for informational purposes only and is not a substitute for professional advice. Always consult a qualified professional for guidance specific to your situation.