

Summary
22 items · 10-20 minutes
Why a Pre-Trip Check Matters
Most vehicle breakdowns and a significant share of road incidents are linked to conditions that a driver could have spotted before leaving home - an underinflated tyre, a cracked windscreen, or a fluid level that had quietly dropped too low. A quick walkround and a few checks inside the cabin takes less time than filling a tank of fuel, and it gives you a much clearer picture of what you're working with before traffic, weather, or distance add pressure.
This checklist is designed for everyday drivers, not mechanics. You don't need specialist tools or technical knowledge to work through it - just a few minutes and a methodical approach. It applies equally to a short commute and a long highway run, though the stakes naturally rise the further you're going.
For a broader view of pre-journey planning, see the pre-journey safety check guide, which covers situational factors alongside the vehicle itself. If you're also preparing for a trip that involves flights or other travel legs, the pre-trip safety and preparation checklist covers documents, health prep, and emergency contacts.
Tyres
Lights and Signals
Fluid Levels
Windscreen and Mirrors
Inside the Cabin
Emergency Equipment
Tools and References to Have on Hand
You won't need much to work through this checklist, but a few items make some checks easier and more accurate.
Tyre pressure gauge
Accurately measures tyre inflation so you can compare against the manufacturer's recommended pressure.
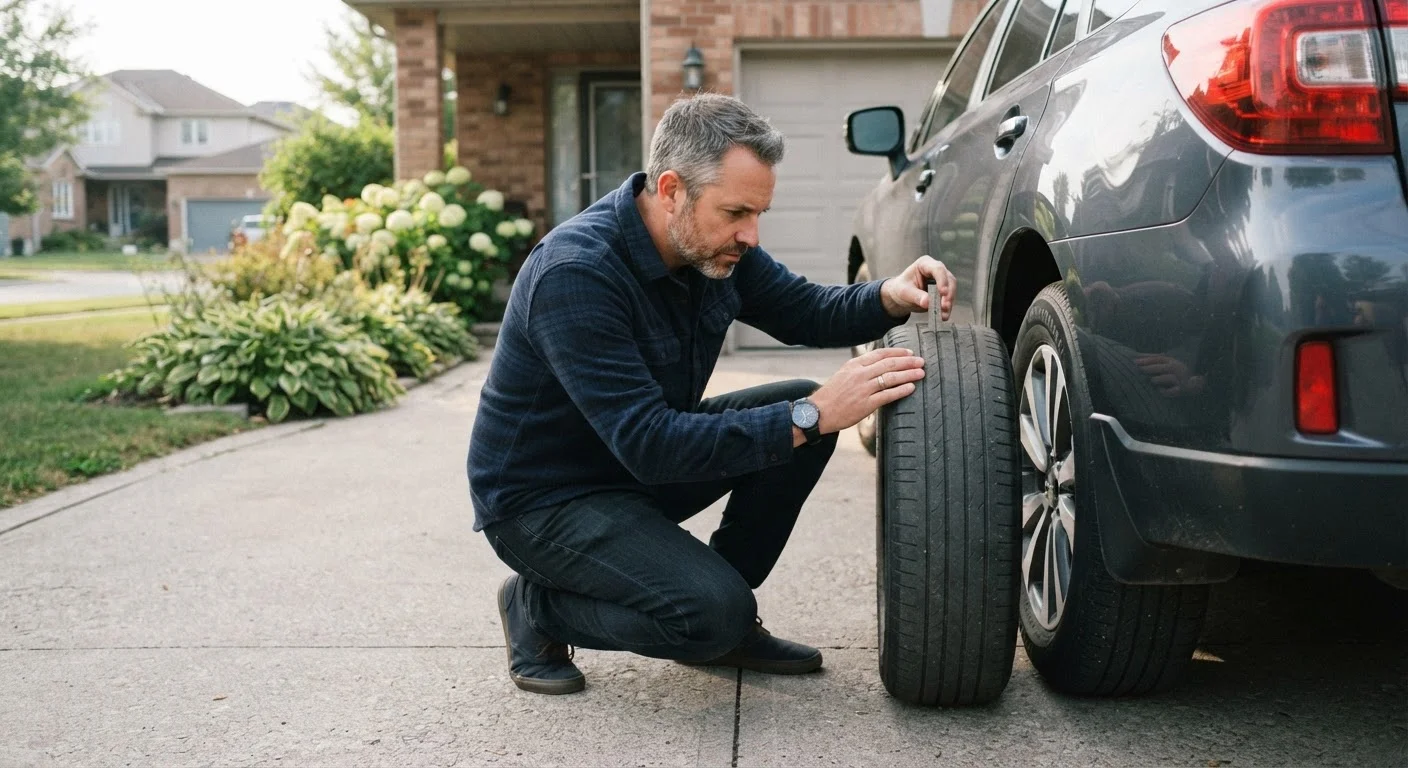
Tread depth gauge
Gives a precise tread depth reading so you can verify tyres are within safe and legal limits.
Vehicle owner's manual
Lists the correct tyre pressure, fluid specifications, and meaning of warning lights specific to your vehicle.
Clean cloth or paper towel
Needed to wipe the oil dipstick clean before taking an accurate reading.
Once you've assembled what you need, work through the checklist systematically - start outside the vehicle and finish inside. That order helps you avoid missing anything. For a deeper guide to checking fluids yourself, fluid checks every driver can do at home walks through each reservoir step by step.
If driving conditions are changing with the season - cold snaps, wet roads, summer heat - pair this checklist with the seasonal car care guide, which adds weather-specific checks. More general car maintenance guidance is also available through the car maintenance hub.
Don't Ignore Dashboard Warning Lights
If a warning light stays on after the engine starts - particularly the brake, oil pressure, engine, or tyre pressure monitor warning - do not assume it's a sensor glitch and drive anyway. These lights exist to flag conditions that can worsen quickly on the road. Have any persistent warning light diagnosed by a qualified mechanic before making a long journey.
The content on this site is for informational purposes only and is not a substitute for professional advice. Always consult a qualified professional for guidance specific to your situation.