

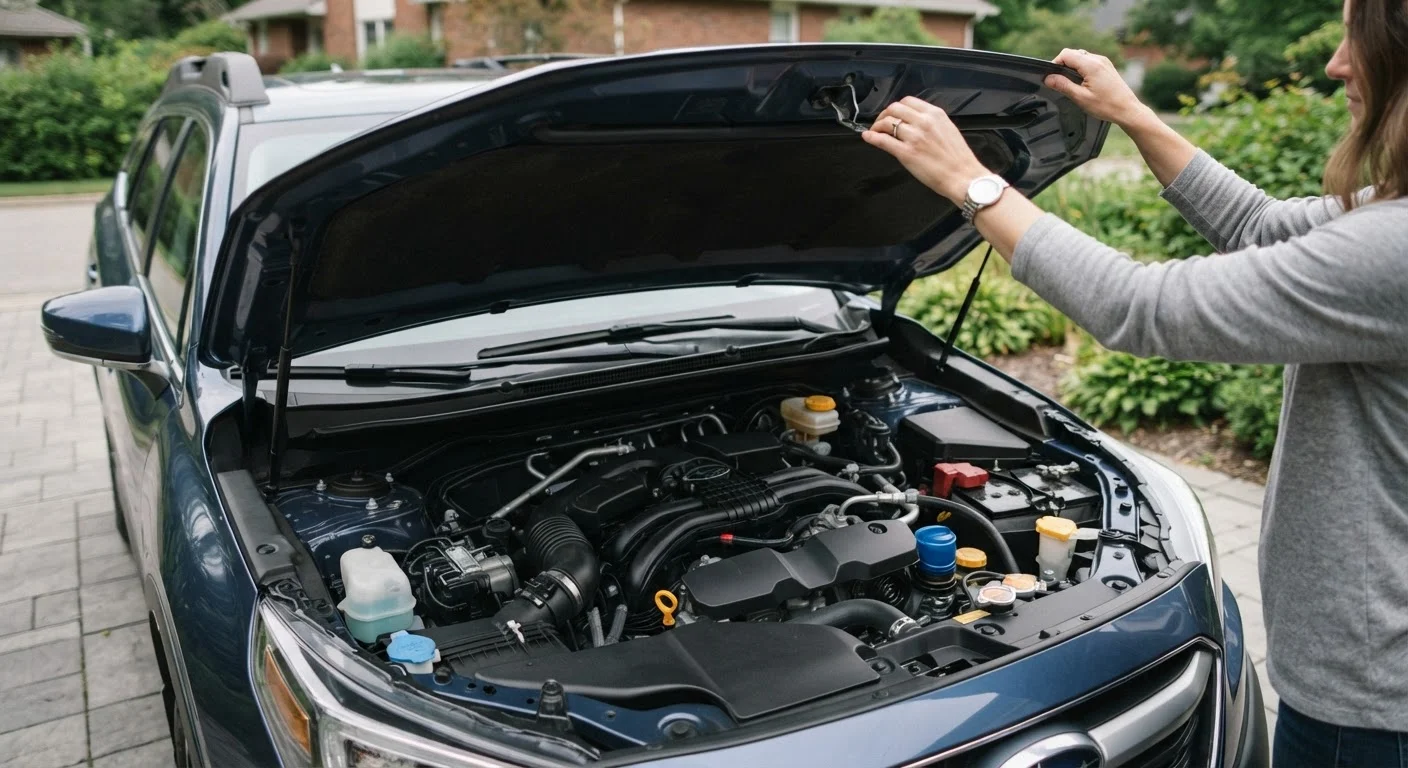
Why Regular Fluid Checks Matter
Your car relies on several fluids to keep its engine cool, its brakes working, and its moving parts lubricated. When any one of them drops too low or degrades, wear accelerates - and what starts as a minor issue can escalate into an expensive repair or a safety hazard on the road.
The good news is that four of the most important fluid checks require nothing more than a clean rag, good lighting, and about ten minutes. No mechanical background needed. If you're just getting started with routine maintenance, this pairs well with our guide for new drivers. For a deeper look at what each fluid actually does, see Car Fluids 101.
What you will need
What You'll Need
Gather these items before you open the hood. Having everything ready saves time and keeps the process tidy.
Owner's manual
Identifies the correct fluid specifications and reservoir locations for your specific vehicle.
Clean rag or paper towels
Wipes the dipstick clean before taking an accurate oil reading.
Flashlight or phone torch
Helps you see fluid levels and colors clearly inside a dark engine bay.
Disposable gloves
Protects your hands from oil, coolant, and brake fluid, all of which can irritate skin.
Step-by-Step: Checking Each Fluid
Work through each check in order. The whole process should take 10-20 minutes on a cold engine.
Park on a level surface and let the engine cool
Pull onto flat ground and switch off the engine. Wait at least 30 minutes before opening the hood. A hot engine makes fluid levels harder to read accurately and creates a genuine burn risk - especially around the coolant reservoir.
Check the engine oil
Locate the oil dipstick - it usually has a brightly colored handle (yellow or orange) and is labeled in most vehicles. Pull it out fully, wipe it clean with your rag, reinsert it all the way, then pull it out again. The oil should sit between the MIN and MAX marks. Also note the color: fresh oil is amber; dark brown or black oil is aging but normal; milky or foamy oil signals a possible problem.
Check the coolant level
Find the coolant reservoir - a translucent plastic tank, usually labeled 'Engine Coolant.' Do not open the radiator cap on a warm engine; pressure builds up and hot coolant can spray out. Instead, simply read the level against the MIN and MAX markers printed on the side of the reservoir. If it's low, top up with the mixture specified in your owner's manual.
Check the brake fluid
The brake fluid reservoir is usually a small white or translucent plastic container near the back of the engine bay, on the driver's side. Check the level through the side of the reservoir - it should be between MIN and MAX. Also look at the color: new brake fluid is pale yellow; very dark fluid suggests it's absorbed moisture over time and may need replacing at your next service.
Check the windshield washer fluid
The washer fluid reservoir has a windshield/wiper symbol on its cap and is typically the largest non-engine fluid container in the bay. If it's low, top it up with a premixed windshield washer solution or a concentrate diluted per the instructions. Avoid using plain water in climates where temperatures drop below freezing - it can freeze in the lines and damage the pump.
Build a Simple Monthly Habit
Pick one day each month - the first of the month works well - to run through all four checks. It takes less time than filling a gas tank and helps you spot slow fluid loss before it becomes a problem. Pairing this with a tyre pressure check covers the two most impactful things a driver can monitor between services.
What to Do If Something Looks Wrong
Finding a fluid that's low, dark, or milky-colored is useful information - not a reason to panic. Here's a quick reference:
- Oil is black or gritty: It's overdue for a change. Book a service.
- Coolant is rusty or has floating particles: The cooling system may need flushing. Have a mechanic assess it.
- Brake fluid is at or below the MIN line: Top it up using the correct specification (printed on the reservoir cap), but if it drops again, have the brake system inspected - fluid loss here can indicate a leak.
- Any fluid has a milky, frothy appearance: This can indicate water contamination, sometimes a sign of a blown head gasket. Stop driving and get a professional diagnosis.
When to Stop Driving Immediately
If you notice oil pressure or temperature warning lights on the dashboard, pull over safely as soon as possible and switch off the engine. Continuing to drive with critically low oil or an overheating engine can cause serious, sometimes irreversible damage. Call for roadside assistance rather than attempting to diagnose the issue yourself at the roadside.
Routine fluid checks fit naturally into a broader pre-drive habit. Our pre-trip vehicle safety check covers fluids alongside tyres, lights, and mirrors in one sweep. For tasks that go beyond topping up - like brake bleeds or coolant flushes - see our comparison of DIY maintenance vs. garage visits to judge what's safe to tackle yourself.
The content on this site is for informational purposes only and is not a substitute for professional advice. Always consult a qualified professional for guidance specific to your situation.