

Understanding the Scope Before You Begin
Kitchen renovations exist on a spectrum. A cosmetic refresh - new paint, hardware, and appliances - can be completed in a weekend. A partial renovation swaps cabinets, countertops, and fixtures while leaving the layout intact. A full gut renovation strips the room to the studs, relocates plumbing and electrical, and may involve structural changes like removing a wall. Knowing which category you're in shapes every decision that follows.
Start by asking one question: are you changing where anything is plumbed or wired? If yes, your project immediately enters a higher tier of complexity, cost, and regulatory requirement. If a wall is coming down, read our guide to open-plan conversions before finalising your plans - structural implications are frequently underestimated.
Document what you have: photograph every wall, measure floor to ceiling and wall to wall, and note the location of the circuit-breaker panel, gas shutoff, and water supply lines. This information is essential for any contractor or designer you bring in later.
Setting a Realistic Budget
Kitchen renovations are among the more expensive room projects in a home, primarily because they combine cabinetry, countertops, appliances, plumbing, and electrical in a single space. Costs vary widely by region, materials, and scope - general figures should be used only for ballpark planning, not as guarantees.
15-20%
Recommended contingency reserve
Industry guidance consistently recommends reserving 15-20% of the total renovation budget for unexpected conditions uncovered during demolition.
~6-12 weeks
Typical lead time for custom cabinetry
Custom and semi-custom cabinet orders commonly carry lead times of six to twelve weeks depending on the manufacturer and specifications.
3
Core trade categories requiring licensing
Electrical, plumbing, and gas work each represent a licensed trade category that typically requires permits and inspections in most U.S. jurisdictions.
A practical rule of thumb: allocate 15-20% of your total budget as a contingency reserve. Kitchens regularly reveal surprises - water-damaged subfloor, outdated wiring that fails inspection, or asbestos-containing materials in older homes - once demolition begins. If the contingency goes unspent, you can redirect it to an upgrade. If you need it, you're protected.
When you receive contractor quotes, line-item costs for labour, materials, markup, and contingency can be confusing. Our article on reading a renovation estimate breaks down exactly what each component means so you can compare bids fairly.
Avoid Finalising Materials After Demolition Starts
Choosing countertop material or cabinetry after demolition has begun introduces serious scheduling risk. Fabricators and suppliers work to lead times, not your contractor's schedule. Delays in material decisions frequently push the entire project timeline back by weeks, leaving you without a functional kitchen longer than planned.
Permits, Codes, and Professional Trades
In most U.S. jurisdictions, work involving electrical circuits, gas lines, and changes to plumbing requires a permit and must be performed - or at minimum signed off - by a licensed trade professional. This is not bureaucratic formality: inspections protect you, future buyers, and your homeowner's insurance coverage.
Work that typically requires permits and licensed trades includes: adding or relocating electrical circuits, moving gas supply lines or appliances, altering drain or supply plumbing, and any structural modification. Work that is generally permit-free includes: replacing like-for-like fixtures in the same location, installing cabinets, tiling, and painting. Always verify with your local building department - requirements differ by municipality.
Never Skip the Rough-In Inspection
Closing walls before a rough-in inspection passes is not only a code violation in most jurisdictions - it can void your homeowner's insurance and create serious liability if a future issue arises. If an inspector finds a deficiency after walls are closed, you may be required to open them again at your own expense. Schedule inspections proactively rather than reactively.
If you're new to navigating renovation terminology in quotes and permit applications, our glossary of home improvement terms provides plain-English definitions for words like rough-in, rough-in inspection, and certificate of occupancy.
Design, Layout, and the Work Triangle
Kitchen design is guided by the work triangle - the relationship between the sink, refrigerator, and primary cooking surface. Efficient kitchens keep these three points within a reasonable combined distance (often cited as under 26 feet total) to reduce unnecessary movement during cooking. Modern design thinking also accounts for multi-cook layouts and dedicated prep zones, but the triangle remains a useful starting framework.
Common layout configurations include: galley (two parallel runs), L-shaped, U-shaped, and island or peninsula layouts. Each suits different room dimensions and household habits. Measure your available floor space carefully before committing to a layout - an island that looks proportional in a showroom may make traffic flow impossible in a smaller kitchen.
Lock in your cabinet order before scheduling demolition. Cabinets drive the entire downstream timeline - countertop templating, appliance cutouts, and plumbing rough-in heights all depend on knowing exact cabinet dimensions in advance.
Resequencing after demolition because cabinets haven't arrived is one of the most common - and most avoidable - causes of extended project timelines and temporary kitchen displacement.
Ask your electrician to add at least two more circuits than your current kitchen has. Modern kitchens draw significantly more power than homes built before the 1990s were designed to handle.
Dedicated circuits for the refrigerator, dishwasher, microwave, and countertop appliances are now standard practice and often required by current electrical codes.
Material selection - cabinets, countertops, backsplash, and flooring - should be finalised before demolition begins, not during. Lead times on custom or semi-custom cabinetry can range from several weeks to several months. Ordering materials late is one of the most common causes of project delays.
The Construction Sequence Step by Step
Trades must proceed in a fixed order. Skipping ahead or overlapping the wrong phases causes costly rework. The general sequence for a full kitchen renovation is:
- Demolition - Remove existing cabinets, countertops, appliances, and flooring. Expose walls as needed.
- Rough-in work - Plumbers and electricians run new supply, drain, and circuit lines to their new locations. Gas lines are modified if required.
- Inspections - Rough-in inspections must pass before walls are closed. Do not skip or rush this step.
- Insulation and drywall - Walls are insulated (where required) and closed with drywall or moisture-resistant board.
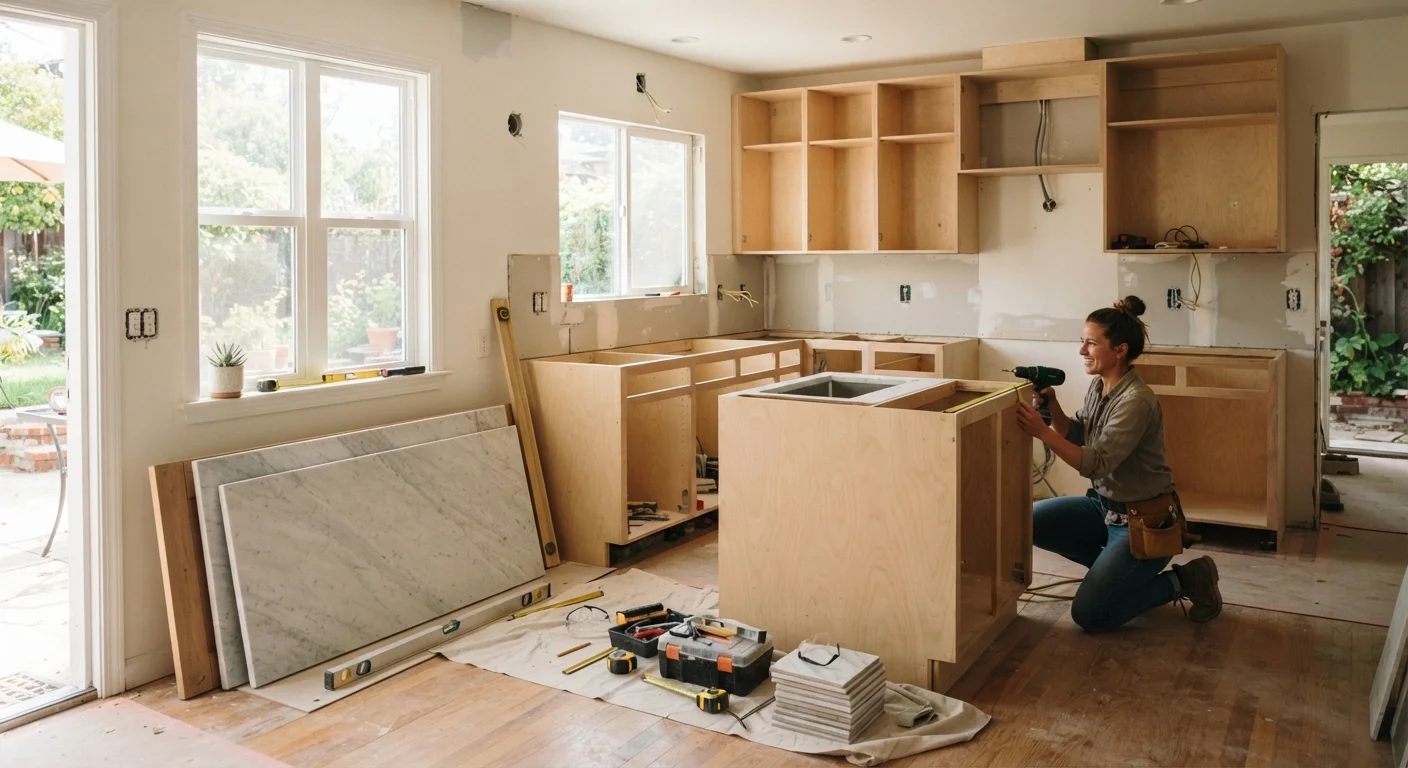
- Cabinet installation - Cabinets are hung and levelled before countertops are templated.
- Countertop templating and installation - Stone and solid-surface tops are templated after cabinet installation and fabricated off-site.
- Tile and backsplash - Typically installed after countertops are set.
- Appliance installation and fixture trim-out - Plumbers and electricians return to connect fixtures, install appliances, and complete finish work.
- Flooring - Hard flooring is often installed last to protect it during cabinet and appliance work.
- Painting and final finishes - Touch-up paint, hardware installation, and accessory fitting.
If your project is your first room renovation, our first renovation planning guide explains how to coordinate and schedule multiple trades without conflicts.
Finishing, Punch Lists, and Final Walkthrough
Before releasing final payment to any contractor, conduct a thorough walkthrough and create a written punch list - a documented record of incomplete or unsatisfactory items. Common punch-list items include: cabinet doors that don't align, grout gaps, unfinished caulking, scratched surfaces, and missing hardware.
Conduct Your Punch List in Daylight
Walk through the finished kitchen in natural daylight rather than artificial lighting - surface imperfections in paint, grout, and cabinetry finishes are far easier to spot. Bring a flashlight for inside cabinets and under-sink areas. A slow, systematic room-by-room approach catches far more than a quick scan.
Test everything before sign-off: run water at every fixture, cycle the dishwasher, check that all circuits function, confirm exhaust fans are ducted and moving air, and verify that all appliances reach operating temperature. Any deficiency discovered after final payment becomes significantly harder to resolve.
Keep all permits, inspection records, warranties, and appliance manuals in a single folder. These documents are important for future maintenance and for disclosure if you sell the home. A completed kitchen renovation, done correctly and with proper permits, is a durable improvement to both your daily life and your home's long-term value - though individual outcomes vary based on local market conditions and project quality.
For a comparison of how kitchen renovation planning differs from other room projects, our bathroom renovation readiness checklist shows how a similar process applies in a very different room context.
This article provides general home improvement information for educational purposes only. Costs, timelines, permit requirements, and code regulations vary by location. Always consult licensed professionals and your local building authority before beginning any renovation work.
The content on this site is for informational purposes only and is not a substitute for professional advice. Always consult a qualified professional for guidance specific to your situation.