

Why the Details Define the Result
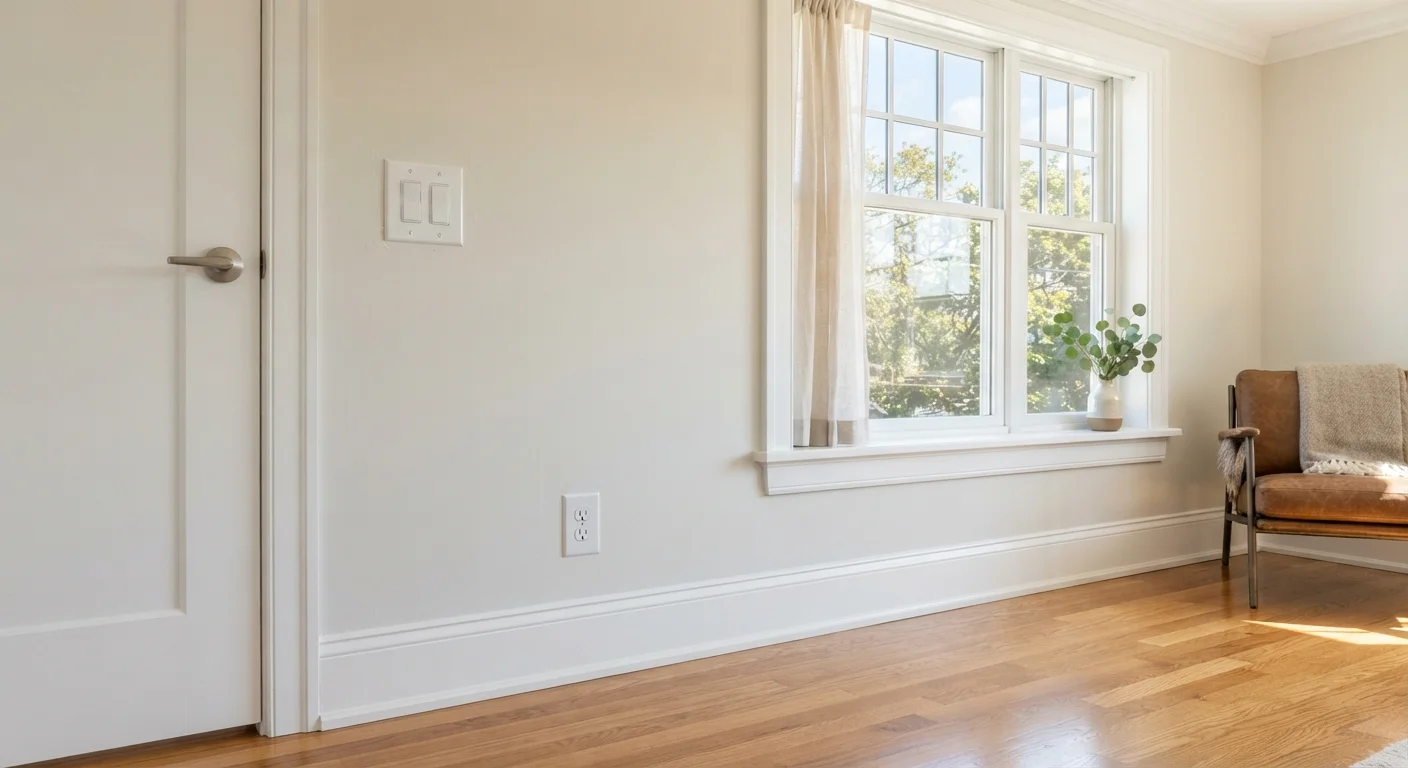
Most renovation work is invisible once the walls are closed and the floors are down. What you're actually judging - and what every visitor notices - are the finishing details: the edges, the transitions, the hardware, and the paint lines. A room can have expensive materials and still look rough if the finishing is careless. Equally, a modest renovation can look sharp and intentional when the small decisions are made well.
These aren't complicated techniques. They're habits of attention. If you're planning your first room renovation, building this checklist into your finishing phase will pay dividends in the final result.
Caulk every seam before the final coat of paint
Bare caulk lines - or gaps left uncaulked entirely - are one of the most common tells of a rushed finish. Where trim meets wall, where baseboard meets floor, and where crown moulding meets ceiling, gaps will open over time due to seasonal movement in the structure. Applying a paintable latex caulk and smoothing it with a damp finger before the final paint coat creates a clean, continuous line that hides movement and prevents cracking paint edges.
Work in manageable sections of about three feet at a time. Too long a bead before you tool it means the surface skin forms before you can smooth it evenly.
Caulking before the final paint coat creates clean lines that hide seasonal movement.
Cut paint edges by hand - not just by tape
Painter's tape is a useful tool for protecting surfaces, but relying on it alone for crisp edges produces uneven results. Paint bleeds under tape if it isn't pressed down firmly, and removing it can pull dried paint with it. Professionals use tape as a guide but cut the final edge freehand with a quality angled brush, keeping the bristles just at the tape line.
Practice on a low-visibility area first. A steady hand on paint cut-ins at ceiling lines and around trim is one of the clearest markers of a skilled finish.
Paint cut-ins done freehand with a quality brush produce sharper edges than tape alone.
Match and consolidate hardware finishes
Mixing brushed nickel hinges with chrome door handles and brass light switch plates reads as unresolved, even if each piece is individually attractive. Choose one metal finish for a room - matte black, satin brass, brushed nickel - and apply it consistently across hinges, handles, hooks, and switch plates. This single discipline has an outsized effect on how cohesive a renovation feels.
It doesn't require replacing everything at once. Prioritise the elements at eye level and frequently touched surfaces first.
Consistent hardware finishes across a room signal intention rather than afterthought.
Replace and align switch plates and outlet covers
Painted-over, cracked, or off-kilter switch plates are a near-universal sign of deferred attention. When covers are installed slightly rotated - even by a few degrees - the slot in the screw head stands out. Use a screwdriver to set screws so their slots run vertically, and replace any cover that is discoloured, cracked, or painted. New covers cost very little and take under a minute per unit to swap.
A painted-over or crooked switch plate undoes careful work everywhere else in the room.
Mortise hinges and strike plates flush
A door hinge or strike plate that sits proud of its recess - even by a millimetre - causes the door to bind, rattle, or fail to latch cleanly. The recess, called a mortise, should be cut so the hardware face is perfectly flush with the surrounding wood. If it's sitting high, the mortise needs to be deepened with a sharp chisel. If it's sitting too deep, a thin card shim behind the plate corrects it.
This is a small but tactile detail: every time someone closes that door, they feel whether it was done right.
A door that latches cleanly every time depends on hardware seated precisely flush.
Finish floor transitions with the right profile
Where flooring types meet - hardwood to tile, carpet to LVP - the transition strip used matters both aesthetically and functionally. A T-moulding, reducer, or threshold should sit flat, be secured along its full length, and be the correct profile for the height differential between surfaces. A transition strip that rocks, gaps at the edges, or is the wrong colour for either floor draws attention immediately.
Take actual flooring samples to the hardware store when selecting transition profiles to match colour and sheen as closely as possible.
The right transition strip between floor types makes a junction look intentional, not improvised.
Install quarter-round or shoe moulding at floor level
Even when baseboard is carefully installed, the gap between the bottom of the baseboard and the floor surface is rarely perfectly tight along its full length. Quarter-round or shoe moulding - a small, flexible trim piece nailed to the baseboard rather than the floor - covers this gap cleanly without requiring a perfect fit. It also accommodates floor movement without pulling away from the wall.
Nail it at a slight downward angle into the baseboard, not into the flooring itself, so the floor can expand and contract freely beneath it.
Quarter-round covers the inevitable gap at floor level without requiring a perfect baseboard fit.
Apply These Before You Call It Done
Before signing off on any renovation - DIY or contractor-led - walk the room slowly at different times of day and in different light. Raking light from a window in the afternoon reveals texture and surface flaws that overhead lighting hides completely. If you're reviewing a contractor's estimate, look specifically for line items covering caulking, touch-up paint, and hardware installation - these are the finishing tasks most often cut to reduce cost, and their absence shows.
Do a Low-Light Walkthrough Before Sign-Off
Once you think a room is finished, turn off the overhead lights and inspect surfaces with a work lamp held low and parallel to the walls. This raking light makes bumps, brush marks, unfilled nail holes, and uneven caulk lines immediately visible. Address anything you find before the space is furnished - it's much harder to touch up after the fact.
Some of these tasks look simple but carry real risk of a poor outcome if rushed. For a fuller picture of which finishing jobs are trickier than they appear, see the DIY jobs that regularly go wrong. When in doubt about any step involving structural, electrical, or gas-adjacent work, consult a licensed professional.
The content on this site is for informational purposes only and is not a substitute for professional advice. Always consult a qualified professional for guidance specific to your situation.