

Why 'Simple' Jobs Catch Homeowners Out
Online tutorials make home improvement look deceivingly achievable. A confident presenter replaces a light fixture in four minutes or lays a perfect tile floor in an afternoon, and viewers reasonably conclude the job is within reach. What the video rarely shows is the years of muscle memory behind those smooth movements, the dry run that happened off-camera, or the perfect substrate the demonstrator started with.
The result is a gap between perceived difficulty and actual difficulty - and that gap is where most DIY disasters live. Understanding which jobs sit in that gap is the first step toward making smarter decisions about what to tackle yourself. For a broader framework on this question, see our guide on when to call a professional and when DIY is safe.
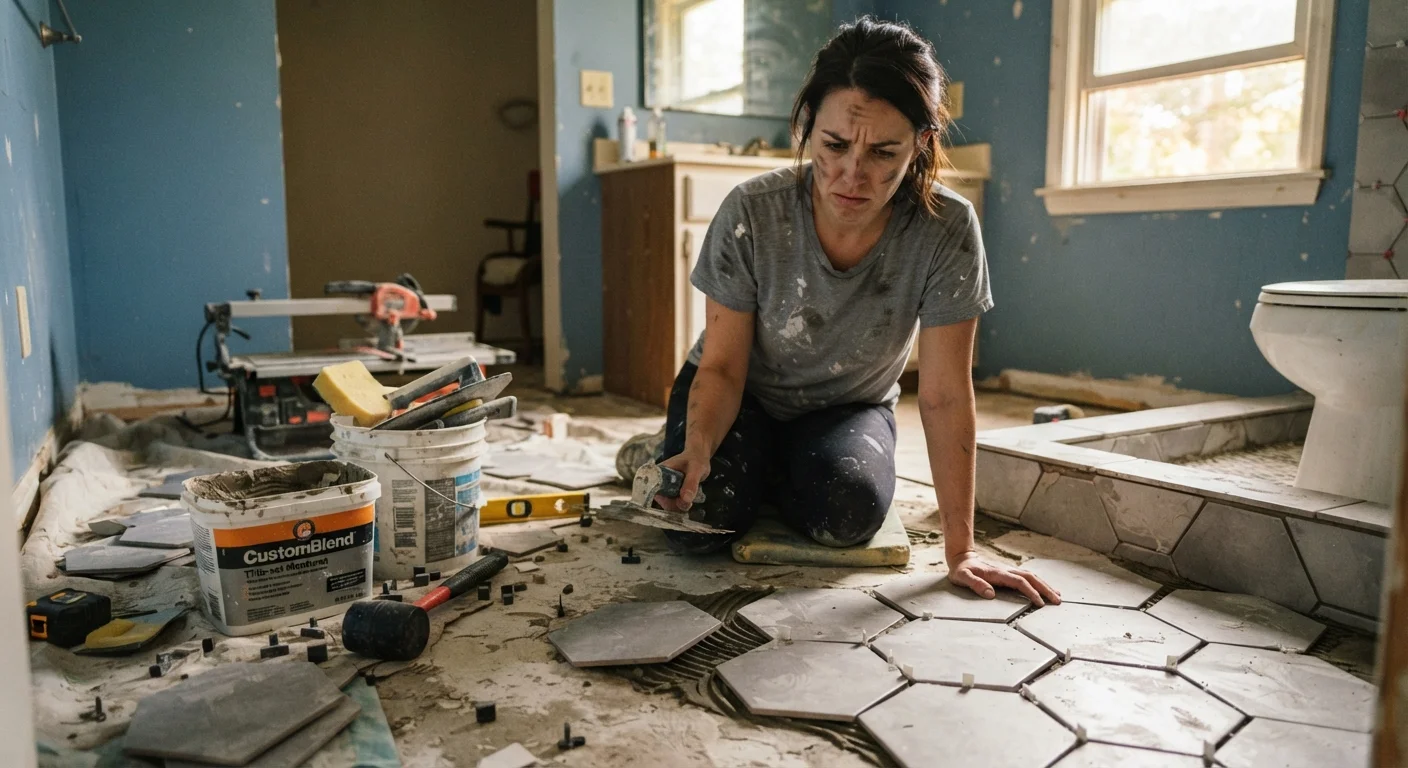
Tiling a floor without checking or preparing the subfloor first.
Why it happens: Tile tutorials focus on the visible layer - adhesive, layout, grout - and rarely dwell on what's underneath. Homeowners assume a flat-looking floor is a ready floor.
Caulking over old, failing caulk instead of removing it entirely.
Why it happens: Removing caulk looks tedious and the new layer seems to cover the problem adequately. It takes real restraint to do the slower, correct version of this job.
Patching drywall without feathering the joint compound far enough out.
Why it happens: Beginners apply compound close to the patch to minimize sanding. The shallow taper creates a visible ridge once the wall is painted.
Hanging wallpaper without properly priming or sizing the wall first.
Why it happens: Priming adds a step and feels like extra expense for a surface that will be covered anyway. Many tutorials skip it or mention it briefly.
Installing recessed lighting without accounting for insulation contact ratings or junction box load limits.
Why it happens: The fixture installation itself feels manageable, and homeowners focus on the wiring connection rather than the fixture's technical requirements for the space it occupies.
Painting over surfaces without adequate cleaning or priming, particularly in kitchens and bathrooms.
Why it happens: Paint goes on smoothly over a dirty surface, so the problem isn't immediately visible. The assumption is that the paint itself will cover minor grease or soap residue.
The Compounding Cost of Getting It Wrong
Beyond the immediate repair bill, botched DIY work can create knock-on costs that aren't obvious upfront. Improperly installed tile can crack a subfloor. A poorly sealed window can lead to mold inside a wall cavity. Unpermitted electrical or plumbing work can stall a home sale years later.
~35%
DIY projects requiring professional correction
Industry surveys of tradespeople consistently indicate that roughly a third of their call-outs involve fixing or completing work a homeowner started.
2-3×
Cost multiplier when fixing a failed DIY attempt
Professionals commonly report that repairing a failed DIY job costs significantly more than the original task would have, due to demolition and additional material needs.
These scenarios are explored in depth in our article on hidden renovation costs that catch homeowners off guard. The key takeaway is that a DIY attempt that fails at the halfway point often hands a professional a messier, more expensive job than if they'd been called first. Before starting any project, it's also worth checking whether a permit is required - skipping that step can have lasting consequences.
Stop Work If You Find Hidden Hazards
If opening a wall, ceiling, or floor reveals wiring, plumbing, asbestos-containing materials (common in homes built before 1980), or structural damage, stop immediately. Asbestos testing and removal, structural alterations, and most electrical and plumbing modifications require licensed professionals and, in many cases, permits. Continuing without proper assessment can create serious safety and legal risk.
If a project causes you to pause mid-task because something unexpected has appeared - wiring behind a wall, water damage under a floor, or a structural element where you didn't expect one - stop work and consult a licensed professional before continuing. Our companion piece on why DIY fixes sometimes make home problems worse explains exactly how partial fixes can escalate manageable problems.
Partial Completion Can Be Worse Than Not Starting
A half-tiled room, a wall with drywall removed, or a light fixture left hanging mid-installation can create immediate safety hazards and leave your home difficult to insure or sell. If a project is beyond your current skill level, reach a safe stopping point and bring in a qualified professional rather than pushing through. See our guide on DIY vs. hiring a contractor for help making that call.
Planning ahead by season also helps avoid rushed decisions. Our seasonal home maintenance guide outlines which tasks suit each time of year so you're never scrambling.
The content on this site is for informational purposes only and is not a substitute for professional advice. Always consult a qualified professional for guidance specific to your situation.