

Assessing the Damage Before You Start
Not all drywall damage is the same, and choosing the wrong repair method is the most common reason patches remain visible. Start by categorizing the damage into one of three types:
- Surface imperfections - nail pops, minor dents, hairline cracks, and shallow gouges under ½ inch deep.
- Small holes - punctures and openings roughly ½ inch to 4 inches in diameter, often from doorknobs, anchors, or removed fixtures.
- Large holes - anything larger than 4 inches that requires a backing support or a replacement drywall section.
Also inspect the surrounding area for soft spots, staining, or mold, which can signal moisture intrusion. Patching over water-damaged drywall without fixing the source will only delay a bigger problem. If you see discoloration or bubbling, read our guide on distinguishing damp walls from condensation before proceeding.
What you will need
Tools and Materials You'll Need
Gathering everything before you start prevents mid-repair interruptions and ensures cleaner results.
6-inch and 10-inch putty knives
Used to apply, spread, and feather joint compound across the repair area.
All-purpose joint compound (pre-mixed)
The primary fill material for all patch types; pre-mixed is easier to work with for small repairs.
Self-adhesive mesh drywall tape
Reinforces seams and edges on medium and large holes to prevent cracking.
Sanding block or sanding sponge (120- and 220-grit)
Used to smooth dried compound flush with the surrounding wall surface.
Drywall primer-sealer
Seals the porous compound so finish paint absorbs evenly and prevents flashing.
Drywall repair patch kit (aluminum or fiberglass)
Provides a rigid backer for holes in the 2-6 inch range without cutting into the wall.
Corner bead (metal or paper)
Reinforces and protects repaired outside corners from future chipping.
For large holes, you'll also want a drywall saw, a piece of replacement drywall panel, and either a California patch kit or wood furring strips to create a backing support inside the wall cavity.
Step-by-Step Repair Instructions
Work through the steps below in order. Rushing the drying stages is the single most common cause of cracking and visible repairs.
Prepare and Clean the Damaged Area
Remove any loose drywall paper, crumbling gypsum, or protruding fasteners around the damage. For nail pops, drive the existing nail slightly deeper with a hammer and drive a new drywall screw 2 inches above and below it to re-anchor the panel. The nail head should be dimpled just below the surface without breaking the paper face.
Wipe the area clean of dust and debris. Compound will not bond well to greasy or dirty surfaces.
Apply Mesh Tape or a Backing Support
For holes larger than ½ inch, structure is needed before compound is applied:
- Small holes (½ inch to 4 inches): Press a self-adhesive mesh patch directly over the hole, centered and flat against the wall surface.
- Large holes (over 4 inches): Cut the damaged area into a clean square or rectangle using a drywall saw. Cut two wood furring strips slightly longer than the opening height, insert them vertically inside the cavity, and screw them to the existing drywall edges. Cut a replacement drywall piece to fit snugly, then screw it into the furring strips. Apply mesh tape over all seams.
Apply the First Coat of Joint Compound
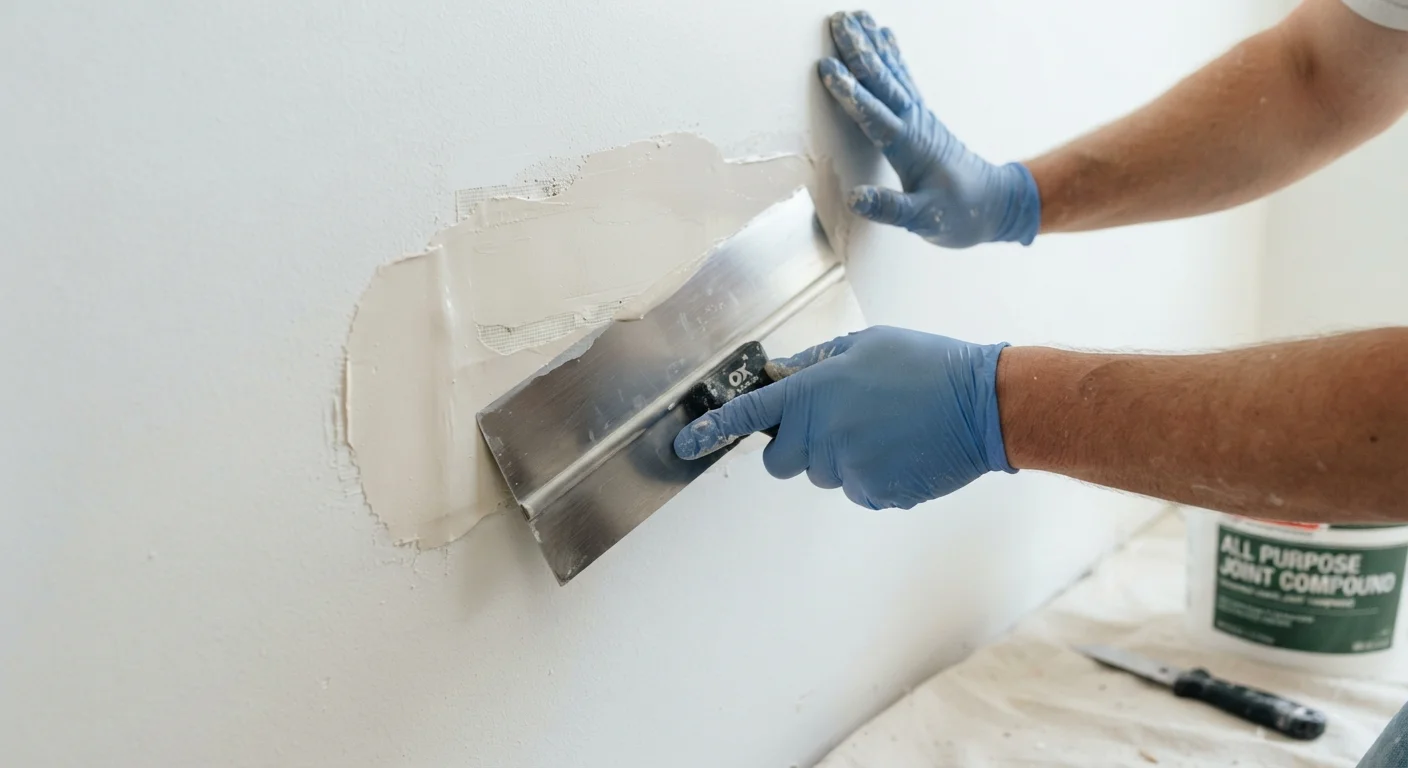
Load your 6-inch putty knife with a moderate amount of compound. Spread it over the patched area using diagonal strokes, pressing firmly to fill the mesh or seam completely. The goal of this first coat is adhesion and fill - not smoothness. Extend the compound about 2 inches beyond the patch edges.
Allow the first coat to dry completely. Pre-mixed compound typically takes 24 hours at room temperature, longer in humid or cool conditions. Do not use heat to speed drying - it causes cracking.
Sand, Then Apply a Second and Third Coat
Once fully dry, lightly sand the first coat with 120-grit paper. The goal is to knock down ridges - not remove the compound. Wipe away dust before applying the next coat.
Apply a second coat with a 10-inch knife, extending 2-3 inches further than the first coat. This wider feathering is what makes the transition invisible. Let it dry fully, then sand again. A third thin skim coat is often needed for large patches or imperfect feathering. Each coat should be thinner and wider than the last.
Final Sand and Inspect
Once the final coat is dry, sand the entire area with 220-grit paper using light, circular motions. Run a bright work light at a low angle across the wall - called raking light - to reveal any ridges, low spots, or texture mismatches that need touching up. Fill any remaining imperfections with a thin skim of compound, let dry, and sand once more.
Wipe the entire surface clean with a lightly damp cloth to remove sanding dust before priming.
Keep Your Compound Workable
Joint compound dries out quickly once exposed to air. Keep the lid on the bucket between coats and press a piece of plastic wrap directly onto the compound surface before closing. If the compound becomes too stiff to spread smoothly, add a small amount of water and mix thoroughly rather than applying it as-is.
Finishing and Painting for a Seamless Result
A technically sound repair can still fail visually at the painting stage. Two finishing details matter most:
Prime Before Painting
Joint compound is porous and absorbs paint differently than the surrounding drywall. Applying paint directly over an unprimed patch causes flashing - a dull, flat spot that appears under raking light even after multiple coats of paint. Use a drywall-specific primer-sealer over all repaired areas before applying finish paint.
Match the Texture
Smooth walls are the easiest to blend. Textured walls - skip-trowel, orange peel, knockdown - require you to replicate the existing pattern with a sponge, brush, or spray technique before painting. Practice on a scrap piece of drywall first. For more detailed guidance on sizing up and executing patches of different scales, see our full drywall repair walkthrough.
Don't Skip the Primer Step
Painting directly over joint compound - even with a high-quality paint - almost always results in visible flashing once the paint dries. This is one of the most common complaints after drywall repairs and it is entirely preventable. Apply at least one coat of drywall primer-sealer and allow it to cure fully before applying finish paint.
The content on this site is for informational purposes only and is not a substitute for professional advice. Always consult a qualified professional for guidance specific to your situation.