

Assessing the Damage Before You Start
Drywall damage falls into a few general categories, and choosing the wrong repair method wastes time and materials. Before grabbing a putty knife, take a moment to categorize what you're dealing with.
- Nail pops and small dents (under ½ inch): These are surface-level imperfections caused by fastener movement or impact. They require minimal materials and no structural support.
- Medium holes (½ inch to 4 inches): Doorknob strikes and accidental punctures fall here. A self-adhesive mesh patch or a California patch is typically the right fix.
- Large holes (4 inches and up): These require a backing board or a cut-in patch anchored to the wall studs for structural support before any compound is applied.
Also check whether the drywall feels soft, discolored, or crumbles at the edges - signs of moisture damage. If you suspect water intrusion, read our guide to damp, mould, and condensation before proceeding. Patching over wet or moldy drywall will only delay a larger, costlier repair.
What you will need
Tools and Materials You'll Need
Gather everything before you begin. Running back to the hardware store mid-repair - especially once compound is drying - is a common source of frustration.
Putty knife or drywall knife (4-6 inch)
Applies and feathers joint compound smoothly over small to medium repairs.
Drywall saw or jab saw
Cuts out damaged sections cleanly when creating a larger patch opening.
Self-adhesive mesh patch
Provides a backing and reinforcement layer for holes up to about 4 inches wide.
Backing board (wood or metal)
Anchors large drywall patches inside the wall cavity for structural support.
All-purpose joint compound (pre-mixed)
Fills, coats, and finishes repairs; sands easily when dry.
Drywall screws and screw gun or drill
Secures backing boards and replacement drywall panels to studs.
Sanding sponge or 120-150 grit sandpaper
Smooths dried compound between coats and before painting.
Primer
Seals the repaired area so paint adheres evenly and doesn't appear blotchy.
For texture matching, keep a few extra supplies on hand: a sea sponge, a small roller with varying nap sizes, or a spray texture can depending on your wall's existing finish. Always test your texture application on a scrap piece of cardboard or drywall before touching the repaired wall.
Step-by-Step Repair Instructions
Follow these steps in order. Skipping prep or rushing drying time are the two most common reasons drywall repairs remain visible after painting.
Clean and prep the damaged area
Remove any loose paper facing, crumbled gypsum, or protruding fasteners around the hole or dent. If a nail or screw is popping, drive it in slightly below the surface with a hammer or drill - this creates a small dimple you'll fill with compound. Sand the surrounding area lightly so compound has a clean surface to bond to.
Apply the appropriate patch backing
For holes under ½ inch, no backing is needed - go straight to compound. For holes between ½ inch and 4 inches, press a self-adhesive mesh patch firmly over the opening. For holes larger than 4 inches, cut the opening into a clean square or rectangle, insert a wooden backing board (typically a piece of 1×3 or 1×4 lumber) behind the drywall, and secure it with drywall screws. Then cut a replacement drywall piece to fit the opening and screw it to the backing board.
Apply the first coat of joint compound
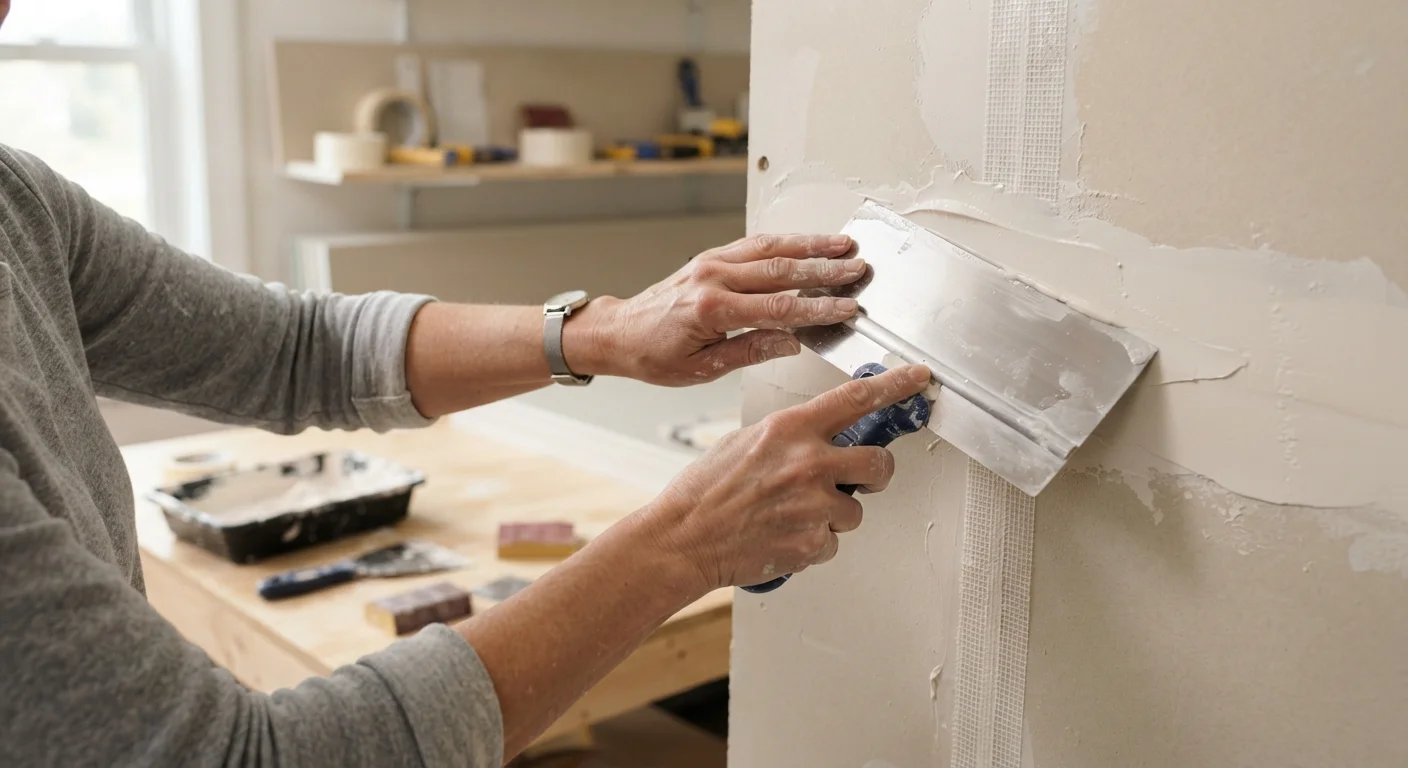
Using your putty knife, spread a thin, even layer of all-purpose joint compound over the patch or damaged area. For mesh patches, work compound firmly into the mesh to fill it completely. Feather the edges outward so there's no abrupt ridge. Do not try to fill the entire depth in one coat - thick applications shrink and crack as they dry.
Sand and apply additional coats
Allow the first coat to dry completely - typically 24 hours under normal indoor conditions. Once dry, lightly sand with 120-150 grit sandpaper or a sanding sponge to remove ridges and high spots. Apply a second coat, feathering it even wider than the first. Repeat the process with a third coat if needed. Most repairs look best after two to three thin coats total.
Match the texture and prime before painting
Once the final coat is sanded smooth and flush with the surrounding wall, recreate the existing texture if your walls aren't flat. Common techniques include stippling with a sponge, rolling with a thick-nap roller for an orange peel effect, or using a spray texture can for popcorn-style finishes. After the texture dries, apply a coat of drywall primer to seal the compound. Skipping primer causes the paint to absorb unevenly, leaving a dull patch visible even after painting.
Plan Around Drying Time
Most homeowners underestimate how long joint compound takes to dry fully. In humid conditions or thick coats, 24 hours per coat is a minimum. Touching or sanding compound that isn't fully dry - it should be uniformly white with no dark or gray patches - drags and tears the surface, adding more work. Building drying time into your schedule from the start makes for a far smoother result.
For a deeper look at finishing techniques that make repairs truly invisible, see our finishing walkthrough.
Troubleshooting Common Problems
Even careful repairs can hit snags. Here are the most frequent issues and how to address them:
- Compound cracking after drying
- Usually caused by applying too thick a coat. Sand back the cracked area and apply two thinner coats instead.
- Visible seams or tape edges
- Feather the compound further out - at least 6-8 inches from the center - on each additional coat to blend the transition gradually.
- Texture mismatch after painting
- Let the paint dry fully before judging the texture match. If it's still noticeable, lightly sand and reapply texture, then repaint that section.
- Patch feels hollow or sounds different when tapped
- On large patches, this may mean the backing board isn't fully secured. Remove the patch, add another fastener, and reapply compound.
Watch for Hidden Wiring and Pipes
Before cutting into any wall for a large patch, confirm there are no electrical wires, plumbing pipes, or HVAC ducts behind the drywall in that area. Use an inexpensive stud finder with AC wire detection, or check your home's blueprints if available. Cutting into a live wire or a water pipe creates a hazard far more serious than the original hole. If you're uncertain, consult a licensed electrician or plumber before proceeding.
The content on this site is for informational purposes only and is not a substitute for professional advice. Always consult a qualified professional for guidance specific to your situation.