

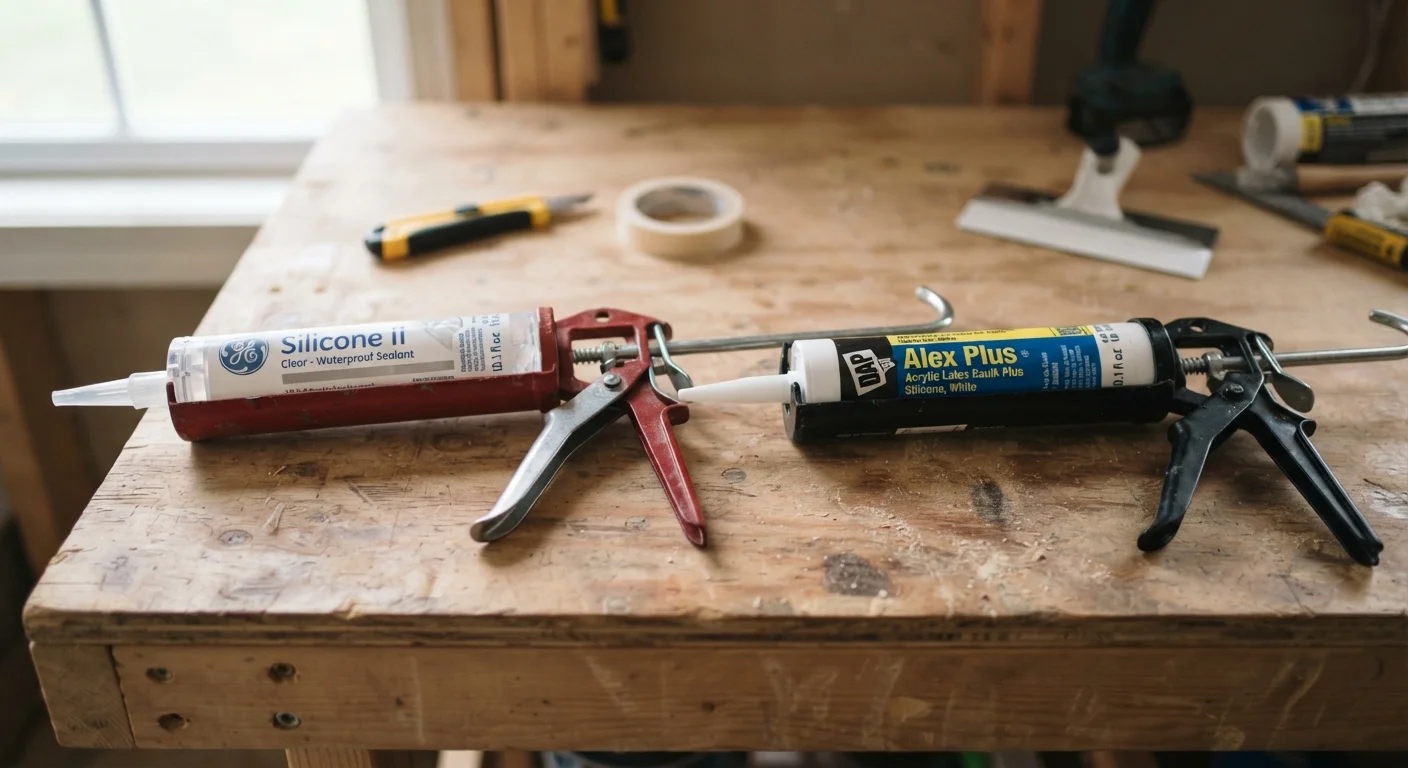
Option A
Silicone Sealant
The waterproof, flexible, long-lasting specialist.
Best for: Wet areas, outdoor gaps, and joints that experience significant movement or temperature swings.
Option B
Acrylic Sealant
The paintable, easy-to-use interior workhorse.
Best for: Interior trim, baseboards, and dry areas where a smooth, paintable finish is the priority.
What Makes These Two Sealants Different
Silicone and acrylic sealants are both used to fill and seal gaps, but their chemistry leads to very different performance characteristics. Understanding those differences upfront will help you avoid the single most common cause of early sealant failure: choosing the wrong product for the location.
Silicone sealant is rubber-based. Once cured, it remains permanently flexible, meaning it stretches and compresses as surfaces expand and contract with temperature changes. It bonds strongly to non-porous surfaces like glass, tile, and metal, and it repels water even after years of exposure. Its chief limitation: paint will not adhere to cured silicone.
Acrylic sealant - sometimes labelled as latex or painter's caulk - is water-based. It cleans up with water before curing, smooths easily with a damp finger, and accepts paint within hours of application. Over time, however, it becomes more rigid and is vulnerable to cracking in wet environments or joints that move frequently.
For a deeper look at how these products fit into the broader category of gap-filling compounds, see our guide on the difference between caulk and sealant.
| Criterion | Silicone Sealant | Acrylic Sealant |
|---|---|---|
| Water resistance | Excellent - fully waterproof | Poor in prolonged wet areas |
| Flexibility after curing | Remains highly flexible | Becomes rigid over time |
| Paintability | Paint will not adhere | Accepts latex paint well |
| Ease of cleanup | Requires solvent before cure | Water cleanup before cure |
| Mold and mildew resistance | High (formulations available) | Moderate to low |
| Best interior use | Wet rooms, sinks, tubs | Trim, baseboards, dry walls |
| Best exterior use | Windows, doors, penetrations | Not recommended outdoors |
| Lifespan (typical) | 20+ years in wet areas | 5-10 years in dry areas |
Where Each Sealant Belongs - and Where It Will Fail
Matching sealant type to location is more important than brand or price. Here's how to think through the decision:
Use Silicone Where Moisture Is Present
Bathrooms, kitchens, laundry rooms, and any exterior joint exposed to rain are silicone territory. The material's closed-cell structure means water cannot penetrate even after prolonged exposure. It also resists mold and mildew growth better than acrylic in consistently damp environments. Apply it around tub surrounds, shower pans, sink edges, exterior window flanges, and outdoor plumbing penetrations.
Use Acrylic Where Paint Adhesion Matters
Interior trim work - baseboards, door casings, crown molding, and window stools - is where acrylic earns its place. Because it accepts latex paint without peeling or fisheye defects, it produces a finish that blends invisibly after painting. It's also a reasonable choice for interior wall cracks in rooms that stay dry and have minimal structural movement.
Where Both Types Fail
Neither silicone nor standard acrylic is appropriate for structural gaps, expansion joints in concrete, or areas where the underlying surface is still moving due to settlement. In those cases, a flexible backer rod combined with a polyurethane sealant is typically more appropriate - consult a qualified contractor if you're unsure.
Hybrid 'Siliconized Acrylic' Products
Some products are labelled as siliconized acrylic or acrylic-silicone blends. These aim to combine paintability with improved moisture resistance, but they do not perform as well as pure silicone in continuously wet locations. They can be a reasonable compromise for semi-exposed areas - such as exterior trim that will be painted - but check the manufacturer's technical data sheet for specific wet-area suitability before relying on them in bathrooms or kitchens.
Misapplication is behind most sealant failures homeowners encounter. Our article on where caulking goes and why it fails walks through the most common mistakes in detail.
Application Tips and Common Mistakes
Even the correct sealant will fail quickly if it's applied over a dirty, damp, or incompatible surface. A few key practices apply regardless of which type you're using:
- Clean the joint thoroughly. Remove old sealant completely - a sealant remover tool or utility knife works well - then clean the surface with isopropyl alcohol and allow it to dry fully.
- Apply at moderate temperatures. Most sealants cure best between 40°F and 90°F. Cold surfaces slow silicone's cure; very hot, humid conditions can bubble acrylic.
- Tool within the open time. Acrylic smooths easily with a damp finger or tooling spatula. Silicone should be tooled while still uncured - use a silicone-compatible tool and a light film of soapy water to prevent sticking.
- Don't apply silicone over acrylic, or vice versa. Adhesion failures are nearly certain if one type is applied on top of a residue of the other.
Common caulking and weatherstripping mistakes - including leaving gaps around windows and doors - can quietly raise energy costs and invite moisture damage long before visible problems appear.
25%
Of home energy lost through gaps and cracks
The U.S. Department of Energy estimates that air leaks through unsealed gaps can account for roughly 25-30% of a home's heating and cooling energy use.
20+ years
Typical lifespan of quality silicone in wet areas
When properly applied to a clean, compatible surface, a high-quality silicone sealant can maintain an effective watertight seal for two decades or more under normal residential use.
The content on this site is for informational purposes only and is not a substitute for professional advice. Always consult a qualified professional for guidance specific to your situation.