

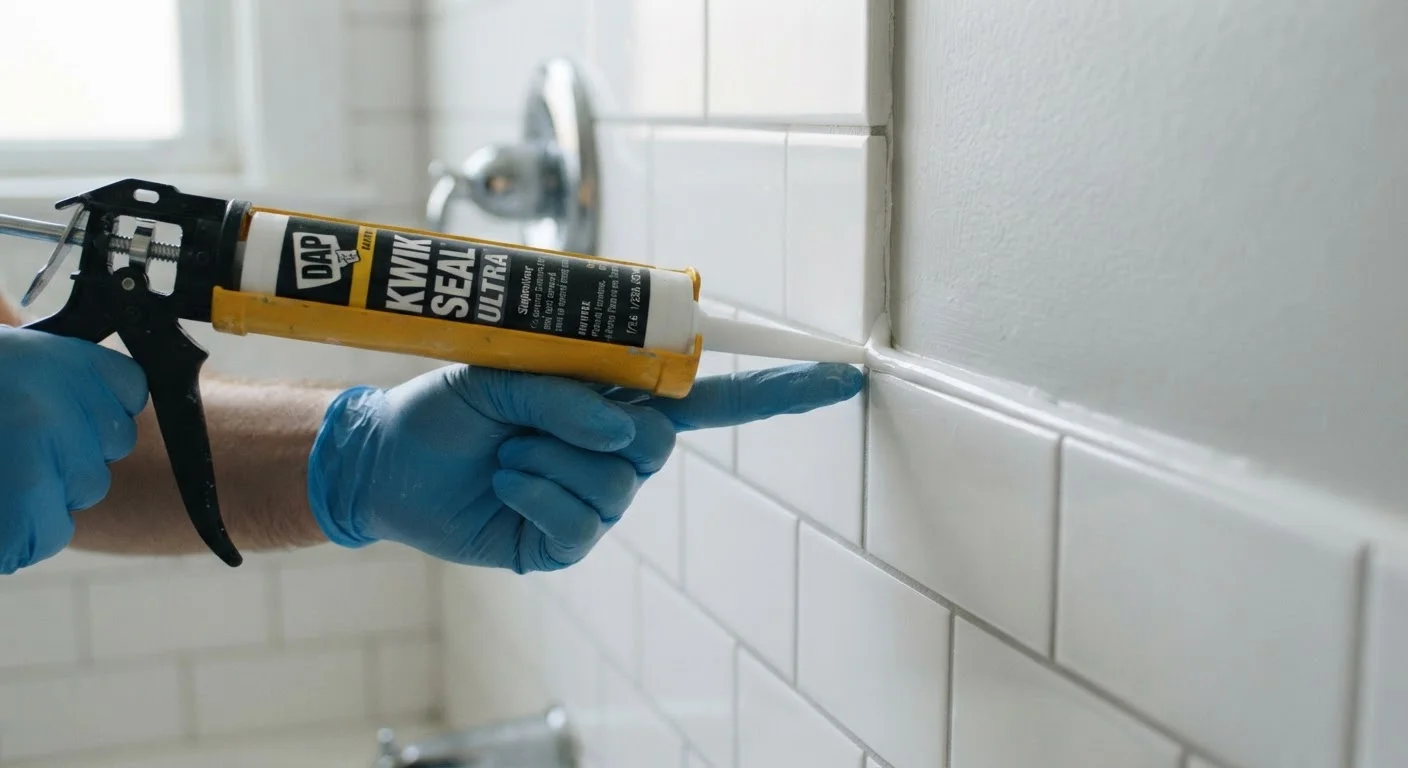
Where Caulk Actually Belongs
Caulk is a flexible sealant designed to bridge the gap between two surfaces that expand, contract, or move independently. Understanding where it belongs is the first step to using it effectively.
Inside the home, correct locations include:
- The joint where a bathtub or shower base meets wall tile
- Where a countertop meets a backsplash
- Around the perimeter of a toilet base (front only - leave the back open so leaks are detectable)
- Around sink rims and plumbing penetrations through walls or floors
- Along interior window trim where it meets the wall, to reduce air drafts
Outside, caulk seals gaps around window and door frames, where different cladding materials meet, and at penetrations for pipes, wires, and vents. For a deeper look at exterior sealing, see our guide to caulking and weatherstripping.
The common thread: caulk works at transition joints - where one material ends and another begins, and movement between them is expected.
Where Caulk Doesn't Belong
Just as important is knowing where not to apply caulk. Several common misuses cause more harm than the original gap ever would.
Over grout lines in tiled walls or floors. Grout and caulk serve different roles. Running caulk over existing grout traps moisture beneath it, accelerating mold growth and grout deterioration. The one exception: the joint where a floor tile plane meets a wall tile plane (a true change-of-plane joint) should use caulk, not grout. Our article on grout myths explains this distinction in detail.
Over structural cracks. A crack in a foundation wall, concrete slab, or load-bearing masonry is a symptom of movement or settling - not just a gap to fill. Caulking over it masks the problem without addressing it and may prevent you from monitoring whether the crack is growing.
Weep holes in brick veneer. The small gaps at the bottom of exterior brick walls are intentional drainage points. Plugging them with caulk traps water inside the wall cavity.
Anywhere in place of flashing. Caulk degrades. Properly installed flashing and drainage planes are the correct moisture defense at rooflines, window heads, and wall-to-roof connections. Caulk may supplement flashing but cannot replace it.
Caulk Is a Maintenance Item, Not a One-Time Fix
Even high-quality, correctly applied caulk degrades over time. Building in an annual inspection of all caulked joints - both inside and outside - is a better approach than waiting for visible failure. Early re-sealing is far less disruptive than repairing the water damage that results from a failed seal left unaddressed.
Choosing the Right Caulk for the Job
Product selection is where many homeowners go wrong. The main categories are latex (acrylic), silicone, and hybrid siliconized latex - and they are not interchangeable.
Use 100% silicone caulk for wet, non-painted surfaces like shower and tub surrounds.
Silicone remains flexible and waterproof indefinitely in continuously wet environments where latex caulk would soften, peel, or mold. It does not accept paint, but in a shower that's rarely a concern.
Use paintable siliconized latex caulk for interior trim, baseboards, and window casings.
These joints need to accept paint to blend with the finish, and they're not exposed to standing water. Siliconized latex offers better flexibility than plain acrylic while still being paintable.
Select a caulk rated for exterior use and UV exposure on all outdoor applications.
Standard interior caulks degrade rapidly when exposed to sunlight, rain, and temperature swings. Exterior-rated formulas contain UV stabilizers and additives that maintain flexibility through seasonal cycling.
Never apply caulk when temperatures are below 40°F or above 90°F.
Extreme cold prevents proper adhesion and curing; high heat can cause premature skinning before the bead is tooled. Both result in a weak seal that fails prematurely.
Back-fill wide gaps with backer rod before caulking.
Caulk performs best at a specific depth-to-width ratio (roughly 1:1 or slightly shallower). Deep gaps filled entirely with caulk shrink, crack, and pull away from the joint faces as they cure.
For a detailed side-by-side comparison, our article on silicone vs. acrylic sealant walks through the performance differences in wet and painted environments.
Why Caulk Fails - and How to Fix It Properly
Even correctly placed caulk eventually fails. Knowing why helps you fix it right the first time and extend the life of the new application.
Up to 40%
Of home air leakage through gaps and cracks
The U.S. Department of Energy estimates that sealing air leaks - including caulking around windows, doors, and penetrations - can meaningfully reduce heating and cooling costs in many homes.
5-10 years
Typical lifespan of quality caulk in wet areas
Silicone caulk in showers and tubs generally lasts 5-10 years before re-application is needed, though poor surface prep or wrong product choice can shorten this considerably.
The most common failure causes are:
- Applying over a wet or dirty surface. Caulk adhesion depends entirely on a clean, dry substrate. Oil, soap scum, dust, or residual moisture all compromise the bond.
- Applying caulk that's too thick. A bead wider than the joint it's filling is more likely to skin over on the outside while remaining uncured inside, leading to cracks and shrinkage.
- Layering new caulk over old. This is the single most common mistake. Old caulk loses flexibility; new caulk bonded to it will fail at the same rate as the material beneath it.
- Ignoring surface movement. Exterior joints experience significant thermal cycling. Using a rigid or low-flexibility caulk in these areas leads to cracking within a single season.
Proper repair means removing all old caulk completely - using a caulk remover tool or utility knife - cleaning the joint with rubbing alcohol, allowing it to dry fully, and then applying fresh caulk in a single smooth bead. Tool the bead immediately while wet to press it into the joint faces.
This kind of disciplined approach to home maintenance helps avoid the chain of avoidable damage described in our article on home maintenance myths. For broader seasonal upkeep context, the Home Maintenance hub is a useful starting point.
The content on this site is for informational purposes only and is not a substitute for professional advice. Always consult a qualified professional for guidance specific to your situation.