

Summary
28 items · 45-90 minutes
Why the Pre-Move-In Inspection Is Non-Negotiable
Your security deposit is a meaningful sum of money - often equal to one or two months' rent - and how well you document the unit's condition on day one determines whether you get it back. Without a record, any damage discovered at move-out is presumed to be yours, regardless of whether it existed before you arrived.
Think of the pre-move-in inspection as the opening chapter of a paper trail. The final chapter - getting your deposit returned - is much easier to write when you have clear evidence of how the unit looked before you touched it.
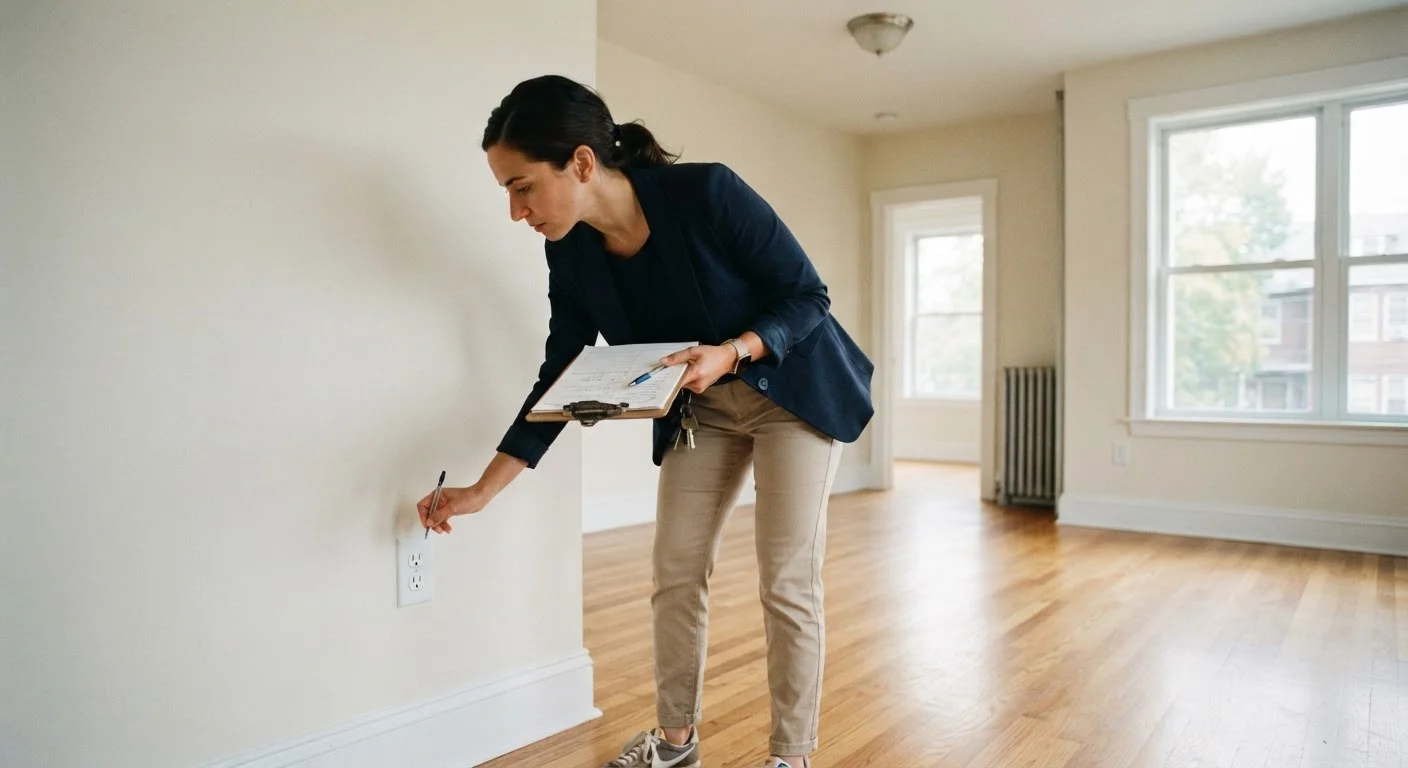
This checklist works for first-time renters and experienced tenants alike. The tools are minimal, the time investment is modest, and the financial protection is real. Work through it systematically before you unpack a single box.
Smartphone with Camera
Capture date-stamped photos and video of every existing defect in the unit.
Printed or Digital Inspection Form
Provides a structured, room-by-room record you and your landlord can both sign.
Phone Charger or Outlet Tester
Quickly confirms whether every electrical outlet in the unit is live and functional.
Flashlight
Illuminates dark corners, cabinet interiors, and areas where lighting is poor or missing.
Notepad and Pen
Backup for written notes if your phone battery dies during the inspection.
How to Use This Checklist
Print or download the inspection form before your walkthrough. Move room by room rather than jumping around - a methodical approach means nothing gets skipped. For every issue you note, take at least one close-up photo and one wider shot showing the location in context. Date-and-time stamps on photos are critical, so confirm your phone's camera is set to embed them.
Once finished, email the completed form - with photos attached - to your landlord or property manager. This creates an automatic timestamp and a written trail. Ask for a read-receipt or a short reply confirming receipt. Understanding what landlords can and cannot legally deduct will help you interpret whether any disputed item at move-out was truly your responsibility.
Submit Your Inspection Form the Same Day
Many state laws define a window - sometimes as short as 24 to 72 hours after move-in - during which you can formally report pre-existing damage without liability. Missing this window can mean being held responsible for damage you did not cause. Check your state's specific renter statutes, and submit your completed form to your landlord on the day of the walkthrough.
The Room-by-Room Inspection Checklist
Work through the groups below in sequence. The checklist covers every area renters most commonly overlook - from electrical outlets to bathroom grout - and flags which items carry the most risk if missed.
Before You Enter
Walls, Floors, and Ceilings
Kitchen
Bathrooms
Electrical and Safety
Doors, Windows, and Locks
Finalising the Record
Never Skip the Written Record
A verbal agreement that pre-existing damage exists is not enforceable. Landlords and tenants often have different recollections months later. A signed, dated inspection form with photos is the only documentation that consistently holds up when deposit disputes arise. Even if your landlord seems trustworthy, always put the record in writing.
Watch for Signs of Mold Before Signing
Mold visible at move-in should be disclosed and professionally remediated before you take possession - not patched over. If your landlord dismisses the concern or claims it is harmless, consider consulting a local tenant-rights organization before signing the lease. Occupying a unit with untreated mold can create both health concerns and legal complications.
What to Do After the Walkthrough
Once your form is submitted, follow up in writing on any repairs your landlord agreed to complete. A simple email - "Confirming that the broken kitchen cabinet hinge will be repaired before " - creates an enforceable record if the repair is delayed or forgotten.
Store your inspection report, photos, and all move-in correspondence in a dedicated folder - cloud storage works well - and keep it accessible for the duration of your tenancy. When move-out day arrives, pull up that same documentation and compare it against the unit's current state. For a more detailed framework on that comparison, see our walkthrough checklist for documenting your rental.
A well-documented move-in is one of the lowest-effort, highest-return steps any renter can take. The time you invest today is the protection you rely on later.
This article is for general informational purposes only and does not constitute legal or financial advice. Security deposit laws vary by state and locality. Consult a qualified attorney or local tenant-rights organization for guidance specific to your situation.
The content on this site is for informational purposes only and is not a substitute for professional advice. Always consult a qualified professional for guidance specific to your situation.