

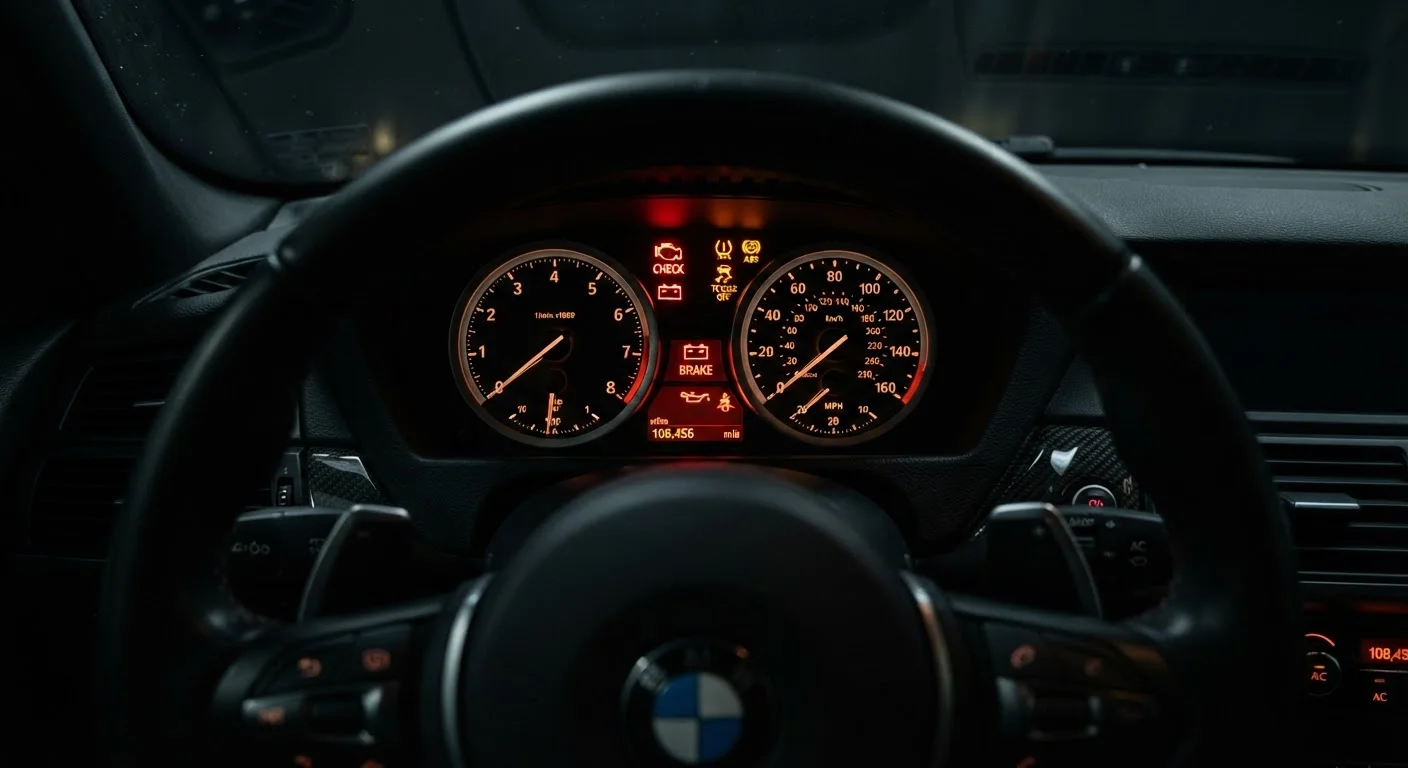
How Dashboard Warning Lights Are Organized
Modern vehicles use a color-coded system to signal urgency. Red lights mean stop or act immediately - continuing to drive could cause serious damage or a safety hazard. Amber or yellow lights flag something that needs attention soon but usually isn't an emergency right now. Green and blue lights are informational, confirming that a system is active.
Every vehicle is different, and your owner's manual remains the single most reliable source for your specific car's symbols. That said, most warning lights follow industry-wide conventions, so the reference below covers the ones you're most likely to see.
| Red light meaning | Stop or act immediately - risk of damage or safety hazard |
| Amber light meaning | Needs attention soon - not usually an immediate emergency |
| Most serious single light | Oil pressure warning (red oil can) |
| OBD-II scanner | Reads fault codes behind a check engine light |
| TPMS trigger threshold | Typically 25% below recommended tyre pressure (U.S. NHTSA TPMS regulation) |
| Owner's manual | Always the definitive reference for your specific vehicle |
The Lights You Should Never Ignore
Oil pressure warning (red oil can icon): This is one of the most serious lights on your dashboard. It does not simply mean your oil is low - it means oil pressure has dropped to a level that can cause rapid engine damage. Pull over safely as soon as possible, switch off the engine, and check the oil level with the dipstick. If the level looks fine and the light stays on, do not restart. Have the car towed and inspected by a qualified mechanic.
Engine temperature warning (red thermometer or wavy lines): Your engine is overheating. Pull over, turn off the engine, and let it cool - do not open the radiator cap while hot. Driving on an overheating engine can warp cylinder heads and cause thousands of dollars in damage.
Battery/charging system (red battery icon): The alternator may not be charging the battery. Your car may keep running for a short time on battery power alone, but electrical systems will fail progressively. Reduce electrical load (turn off A/C, heated seats) and get to a garage soon.
Brake warning (red exclamation mark in a circle, sometimes with a "P"): If the parking brake is fully released and this light is on, have your brake fluid level and brake system inspected immediately. For more on brake wear, see our guide to brake wear signs.
OBD-II
On-Board Diagnostics II - a standardized system used in most vehicles sold after 1996 that records fault codes when a sensor detects a problem. A mechanic uses a scanner to read these codes and identify what triggered the check engine light.
TPMS
Tyre Pressure Monitoring System - a sensor-based system that alerts the driver when one or more tyres drop significantly below recommended inflation pressure.
Catalytic converter
An emissions-control device in the exhaust system that converts harmful combustion gases into less harmful ones. A persistent engine misfire can overheat and destroy it.
Alternator
A generator driven by the engine that recharges the battery and powers electrical systems while the car is running. A failing alternator causes the battery warning light to illuminate.
Oil pressure
The force at which engine oil is circulated through the engine. Low oil pressure - not just low oil level - is what triggers the red oil warning light, and it can cause rapid, severe engine damage.
Amber Lights: Attend to These Soon
Check Engine (amber engine outline): This light covers a wide range of issues logged by your car's onboard diagnostic system - anything from a loose gas cap to a failing oxygen sensor. A steady light generally means a non-emergency fault; a flashing check engine light indicates an active misfire that can damage the catalytic converter and warrants prompt attention. A mechanic can read the fault code with an OBD-II scanner to identify the exact issue.
Tyre Pressure Monitoring System - TPMS (amber horseshoe with an exclamation mark): One or more tyres have dropped below the recommended pressure. Check all four tyres (and your spare, if your system monitors it) with a gauge and inflate to the pressure listed on the sticker inside your driver's door jamb - not the maximum printed on the tyre sidewall. Our tyre maintenance guide covers checking pressure and tread depth in detail.
Traction Control / Stability Control (amber car with skid lines): If it flashes briefly while driving on a slippery surface, the system is working normally. If it stays on, the system may be deactivated or have a fault - worth having checked.
Low Fuel (amber fuel pump icon): You have roughly 30-50 miles of range remaining, though this varies widely by vehicle. Consistently running near empty can cause the fuel pump to overheat and wear prematurely.
The Check Engine Light Covers a Lot of Ground
Because the check engine light can represent dozens of different fault codes, it's impossible to diagnose without a scanner. Many auto parts stores offer free OBD-II code reading as a courtesy. However, reading the code tells you which sensor reported a problem - it doesn't always tell you the root cause. A mechanic can help interpret the code in context.
What to Do When a Light Comes On
First, stay calm. Most amber lights give you time to act - they're not asking you to pull over immediately. As a general rule:
- Note whether the light is red (stop soon) or amber (schedule service).
- Check if it's steady or flashing - flashing almost always means a more urgent issue.
- Consult your owner's manual for the exact symbol definition for your vehicle.
- For red lights or flashing amber lights, contact a mechanic before driving further.
Ignoring warning lights doesn't make the underlying problem go away - it often turns a minor repair into a major one. Just as a home can show early warning signs before a problem becomes serious (see our article on reading your home's warning signs), your car is doing the same thing. Responding early is almost always cheaper and safer than waiting.
For broader guidance on staying safe behind the wheel, visit our Safe Driving hub.
The content on this site is for informational purposes only and is not a substitute for professional advice. Always consult a qualified professional for guidance specific to your situation.