

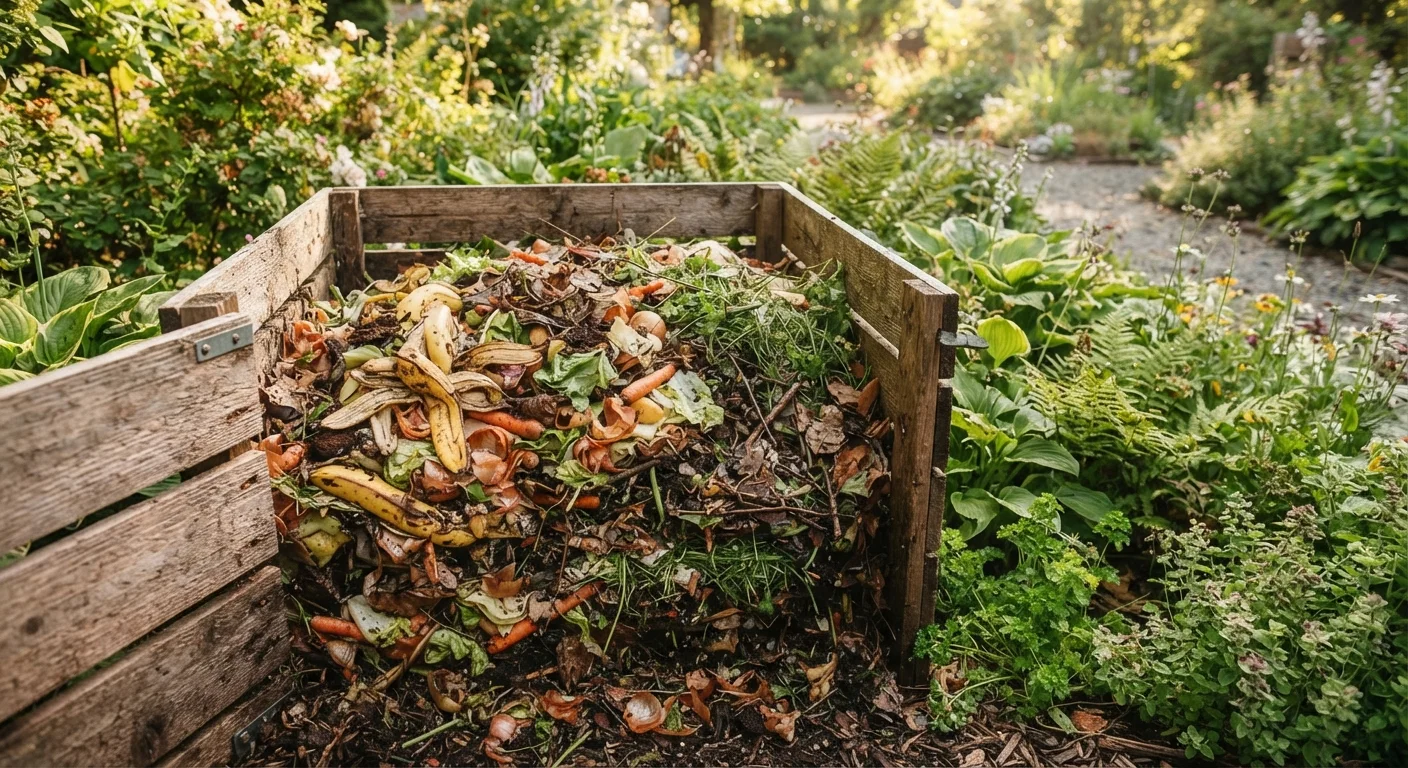
Why Composting Is Worth the Effort
Compost does more than reduce kitchen waste - it actively improves soil structure, feeds beneficial microorganisms, supports moisture retention, and can reduce the need for synthetic fertilizers. Whether you are starting a vegetable garden from scratch or tending an established plot, finished compost is one of the most versatile soil amendments available. It works equally well dug into planting beds, spread as a top dressing on lawns, or blended into containers.
The process itself is straightforward: organic matter breaks down through the activity of bacteria, fungi, and other decomposers. Your role is simply to provide the right conditions - moisture, air, and a balanced mix of materials - then let biology do the work.
Keep a Small Bin in Your Kitchen
A countertop container with a tight-fitting lid makes it easy to collect fruit peels, coffee grounds, eggshells, and vegetable trimmings before making a trip outside. Empty it every two to three days to prevent odors. This habit alone can dramatically increase how much material you divert from the trash.
What to Add - and What to Leave Out
Understanding which materials belong in a home compost pile is the most important foundation for success. For a detailed breakdown of specific items and edge cases, see our guide on what goes in and what stays out of a home compost pile.
Avoid These Items Completely
Never add meat, fish, bones, dairy products, or cooking oils to a standard backyard compost bin. These materials attract rodents and other pests, create unpleasant odors, and can introduce pathogens. Pet waste and diseased plants should also be kept out, as home piles rarely reach temperatures high enough to neutralize harmful organisms.
In general, nearly all raw fruit and vegetable matter, coffee grounds, eggshells, dry leaves, cardboard, and plain paper are excellent candidates. Cooked foods, heavily processed items, and anything with significant fat or protein content pose problems in a standard backyard setup.
Compost bin or designated pile area
Confines materials, retains heat, and keeps pests out while decomposition occurs.
Garden fork or compost turner
Used to aerate and mix the pile, accelerating breakdown by introducing oxygen.
Kitchen collection container
Collects food scraps indoors between trips to the outdoor bin.
Garden hose or watering can
Adds moisture to a dry pile to maintain optimal decomposition conditions.
Thermometer (compost-specific)
Monitors internal pile temperature to confirm active decomposition is occurring.
Step-by-Step: Building and Managing Your Pile
The steps below guide you through setting up your first compost system and keeping it productive over time. Having the right tools on hand before you start makes the process considerably easier.
What you will need
Choose and Set Up Your Composting Space
Select a spot that receives partial shade and is reasonably close to both your kitchen and garden. A dedicated bin - wooden, plastic, or wire - helps retain heat and moisture better than an open pile. Place it directly on soil or grass rather than on concrete so beneficial organisms like worms and microbes can migrate in from the ground.
Collect and Sort Your Materials
Compost relies on a balance of two broad categories. Greens (nitrogen-rich) include vegetable and fruit scraps, coffee grounds, tea bags, fresh grass clippings, and plant trimmings. Browns (carbon-rich) include dry leaves, cardboard torn into small pieces, paper bags, straw, and woody plant stems. Aim for roughly equal volumes of each - if your pile skews too heavily green, it will get slimy and smelly.
Layer Materials and Begin Building the Pile
Start with a 3-to-4-inch layer of coarse browns - dry leaves or small wood chips work well - directly on the ground. This improves drainage and airflow at the base. Alternate layers of greens and browns as you add materials. There is no need to be perfectly precise about layers over time; what matters most is that the overall ratio stays balanced.
Maintain Moisture and Aeration
Check your pile every week. It should feel consistently moist throughout. In dry weather, water it lightly. In very wet weather, cover it with a tarp or lid to prevent waterlogging. Turning the pile with a garden fork every one to two weeks introduces oxygen, which dramatically speeds up microbial activity and reduces odors.
Recognize and Harvest Finished Compost
Finished compost no longer resembles the original materials. It looks dark brown or black, has a crumbly texture similar to soil, and smells earthy - not rotten. The bottom of the pile is usually the most mature. Use a garden fork to pull finished material from the base while leaving partially broken-down material at the top to continue composting. Finished compost can be dug into garden beds, used as a top dressing, or mixed into potting soil.
Watch Your Moisture Levels
A pile that is too wet becomes anaerobic and produces a foul, sulfur-like smell. A pile that is too dry stalls decomposition entirely. Aim for the moisture level of a wrung-out sponge - damp throughout but not dripping. If your pile smells, add dry browns and turn it; if it looks dusty and inactive, water it lightly and mix.
Putting Compost to Work in Your Garden
Once your compost is ready, the possibilities are broad. Mixing 2 to 3 inches into the top layer of a new garden bed gives seedlings a nutrient-dense start. Applying a half-inch layer as a surface mulch around established plants feeds soil biology while retaining moisture. If you are planning ahead for spring planting, the spring garden readiness checklist can help you time when to apply compost alongside other soil preparation tasks.
Compost also pairs well with thoughtful garden design. When used in beds where you practice companion planting, it supports the soil health that makes those plant relationships thrive. Over time, consistent composting is one of the most reliable ways to build a productive, low-input garden.
The content on this site is for informational purposes only and is not a substitute for professional advice. Always consult a qualified professional for guidance specific to your situation.