

Why These Two Checks Matter More Than Most Drivers Realise
Tyres are the only part of your vehicle that actually touches the road. Everything your car does - accelerating, braking, steering - depends on four contact patches roughly the size of your hand. Yet tyre pressure and tread depth are among the most routinely skipped maintenance checks in everyday driving.
Under-inflated tyres flex more than they should, generating excess heat and wearing unevenly. Over-inflated tyres have a smaller contact patch, reducing grip - particularly in wet conditions. Either way, handling suffers before most drivers notice anything feels different. Similarly, worn tread can't channel water away from the road surface effectively, dramatically extending stopping distances in the rain.
The good news is that both checks require no mechanical skill and cost almost nothing. You can fold them into a pre-trip routine - see our pre-trip vehicle safety checklist for a broader look at what to inspect before hitting the road.
What you will need
Tools You'll Need
You don't need a garage or specialist equipment. Here's what to have on hand before you start:
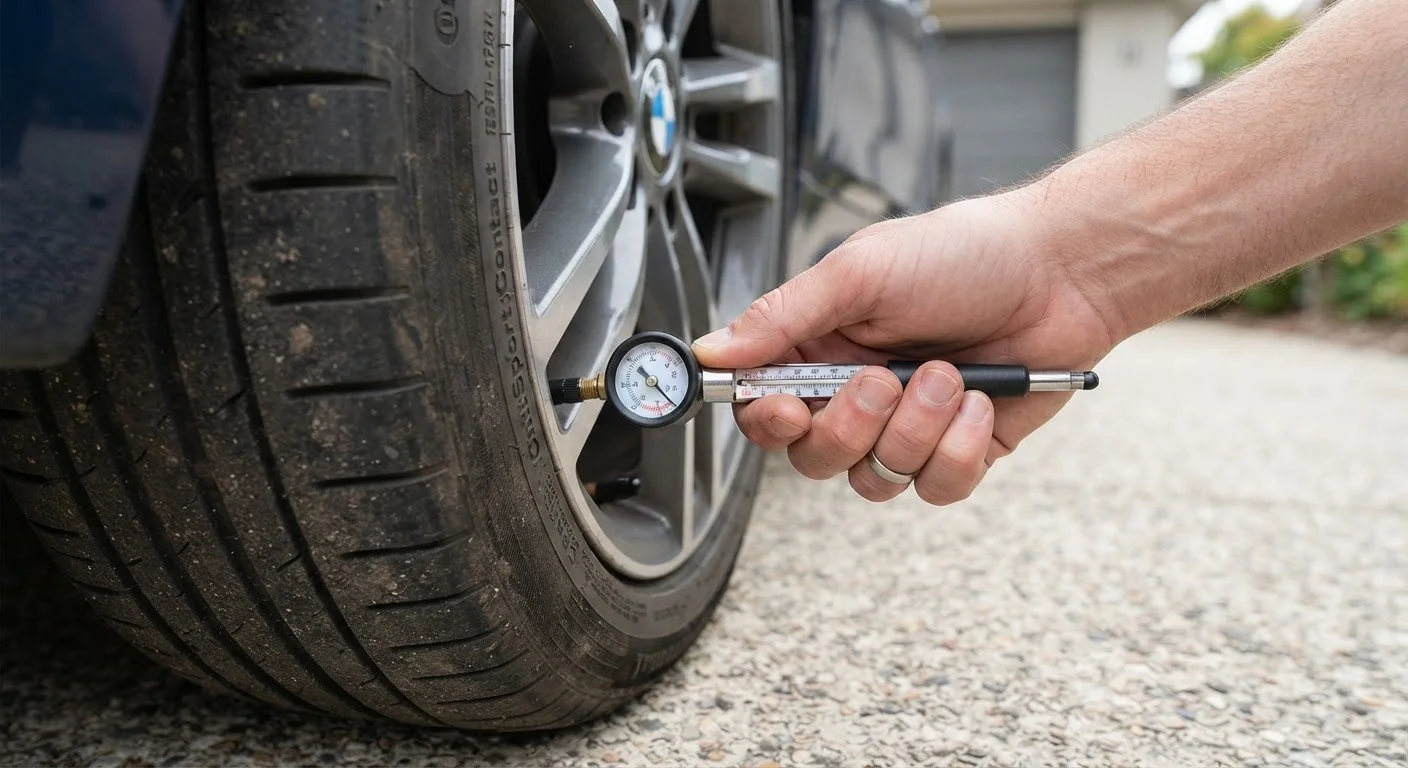
Tyre Pressure Gauge
Measures the air pressure inside each tyre in PSI so you can compare it to your vehicle's recommended figure.
Portable Air Compressor or Gas Station Air Pump
Adds air to under-inflated tyres or allows you to release air from over-inflated ones.
Penny and Quarter
Used as quick, no-tool gauges for estimating tread depth at the 2/32" and 4/32" thresholds.
Tread Depth Gauge
Gives a precise tread depth reading in 32nds of an inch - more accurate than the coin method.
Tyre pressure is measured in PSI (pounds per square inch) in the US. Most passenger vehicle tyres run between 30 and 36 PSI, but always check your specific vehicle's recommended figure rather than assuming a standard number applies.
Step-by-Step: Checking and Adjusting Tyre Pressure
Follow these steps on a monthly basis and always before a long journey. Temperature affects pressure - tyres lose roughly 1 PSI for every 10°F drop in ambient temperature, so a cold snap can push you below the recommended range overnight.
Find your vehicle's recommended tyre pressure
Open the driver's door and look for a sticker on the door jamb - it lists the recommended cold tyre pressure in PSI for both front and rear tyres. You can also find this in the owner's manual. Do not use the maximum pressure printed on the tyre sidewall - that figure is the tyre's physical limit, not what your vehicle is designed to run on.
Check pressure when tyres are cold
Tyre pressure should be measured when the tyres are cold - meaning the car hasn't been driven for at least three hours, or has been driven less than a mile. Driving heats the air inside the tyre and raises pressure temporarily, which will give you a misleadingly high reading.
Remove the valve cap and take a reading
Unscrew the small plastic cap from the valve stem (the short rubber or metal protrusion on the inner rim). Press your tyre gauge firmly and squarely onto the valve stem. A hissing sound means the gauge isn't seated correctly - reposition and try again. Note the PSI reading.
Add or release air as needed
If the reading is below the recommended PSI, attach the air compressor hose to the valve stem and add air in short bursts, rechecking with the gauge after each burst. If the tyre is over-inflated, use the small pin inside the gauge or compressor nozzle to depress the valve core and release air gradually, checking frequently.
Repeat for all four tyres - and the spare
Work around the vehicle, checking and adjusting each tyre. Don't forget the spare - a flat spare is useless in a roadside emergency. Many full-size spares use the same recommended pressure as the vehicle's regular tyres; compact or temporary spares often have a higher listed pressure, typically marked on the tyre itself.
Check Pressure Monthly and After Temperature Swings
A monthly check is the right cadence for most drivers. Always add a pressure check to your routine before a long highway trip, when you've loaded the vehicle heavily, or after a significant drop in outside temperature. Catching a slow leak early is far less disruptive than a flat tyre on the road.
If your dashboard shows a tyre pressure warning light, don't ignore it. Our guide to dashboard warning lights explains what the TPMS (Tyre Pressure Monitoring System) indicator means and when to act immediately.
Checking Tread Depth: What's Safe and What Isn't
Tread depth is measured in 32nds of an inch in the US. New tyres typically start at 10/32" to 11/32". The legal minimum is 2/32" - at that point, a tyre is considered worn out and must be replaced. However, many tyre safety organisations suggest the practical limit for wet-weather safety is closer to 4/32", since stopping distances increase substantially as tread wears below that threshold.
The Penny and Quarter Tests
Two quick coin tests give you a rough read without any tools:
- Penny test (2/32" threshold): Insert a penny into a tread groove with Lincoln's head pointing down into the tyre. If you can see the top of Lincoln's head, the tread is at or below the legal minimum - replace the tyre.
- Quarter test (4/32" threshold): Insert a quarter the same way. If you can see the top of Washington's head, you're at or below 4/32" and should plan for replacement soon.
Check multiple grooves across the tyre's width, not just one spot. Uneven wear - more on one edge than the other - can signal an alignment or inflation problem worth investigating.
Uneven Wear Is a Warning Sign
If you notice that one edge of a tyre is significantly more worn than the other, or that tread depth varies noticeably across the width, don't just replace the tyre and move on. Uneven wear typically points to an underlying issue - misalignment, improper inflation, or a suspension component problem - that will chew through a new tyre just as quickly. Have a qualified mechanic inspect the cause before fitting replacements.
For a deeper look at how tread wear progresses and when a tyre is genuinely at the end of its life, see our article on tyre maintenance from the ground up. Tyres don't wear in isolation either - well-maintained brakes are equally important for stopping safely. Our guide to recognising brake wear covers the signs to watch for.
The content on this site is for informational purposes only and is not a substitute for professional advice. Always consult a qualified professional for guidance specific to your situation.